We wanted to chronicle the salvage of our Rusk house project from start to finish.
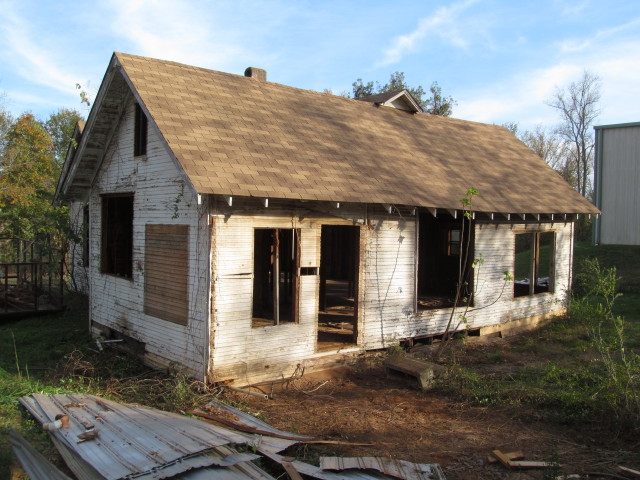
The Rusk house was built in approx. 1915. We determined this after we found handwritten notes on the backs of boards in the walls, detailing things like carpenter’s signatures, dates of work, etc. Most of the construction was done using round nails so we know that the house was not built in the mid-1800’s as we first suspected.
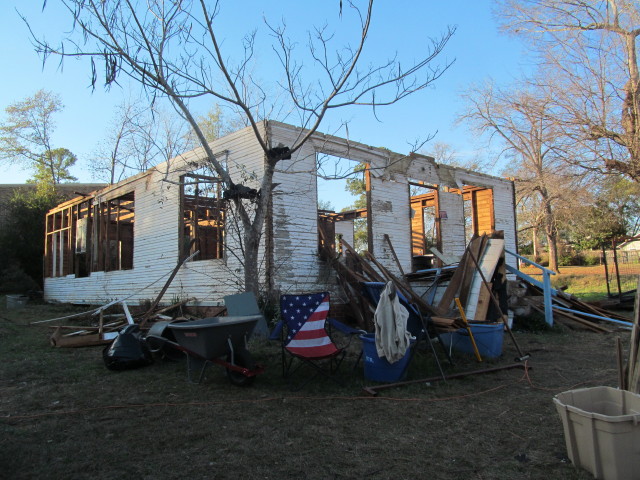
When we began work, the house was full of personal belongings and trash. We brainstormed and came up with a creative solution: we partnered with a local non-profit business. The organization, called RAAW, worked directly with the Church of Christ (our client) to clean out the house for us. They plan to use the items in their mission or sell them in their store.
When we were able to start our actual demo process, the progress was quick right out of the gate. We skinned the inside walls and ceiling of all sheetrock, wallpaper etc to reveal just the wood, removed all of the windows and doors, and the tin shed they stuck off the back of the house. During this process, we discovered some unexpected treasures.
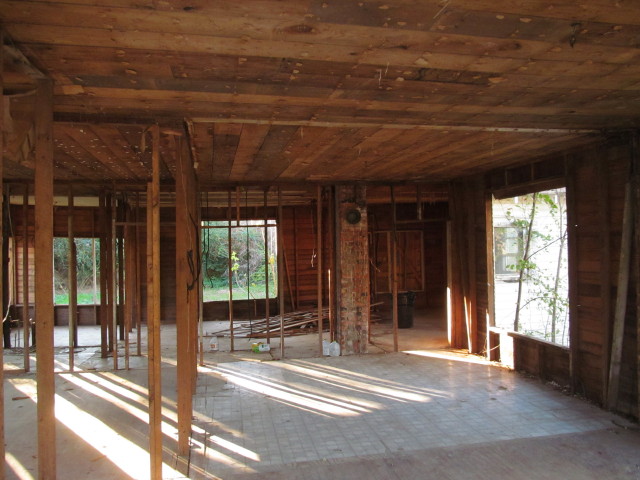
shiplap walls and ceiling
beadboard wall pieces
strips of beadboard piled up and ready for de-nailing
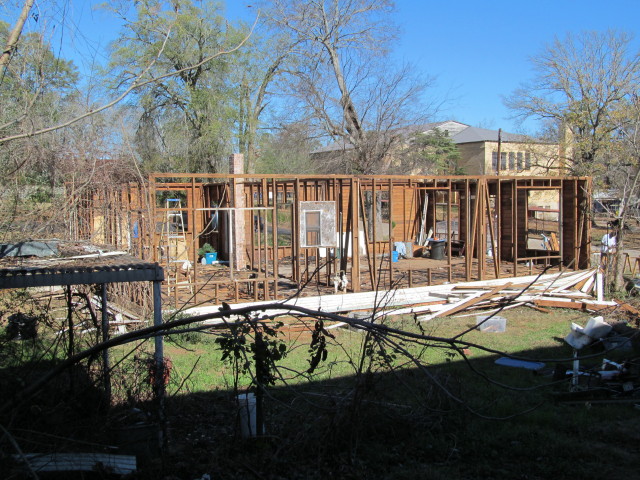
windows and tin shed removed from back of house

windows and doors removed from front of house
Next we removed the ceiling wood which revealed the framing of the house.
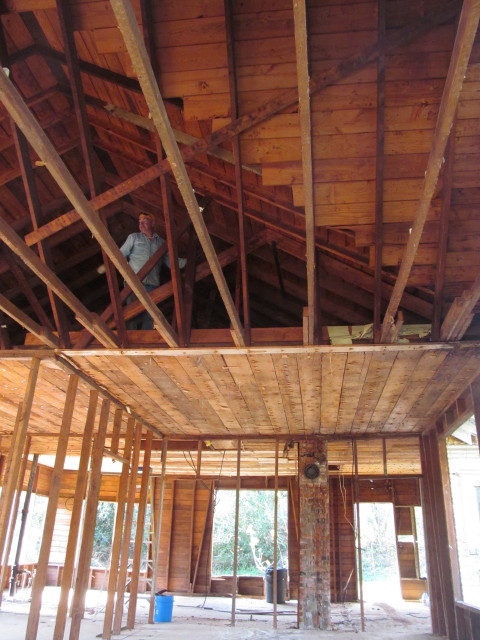
removing the ceilings
While removing the ceiling boards, we salvaged a HUGE attic fan that is destined to become Mark’s new shop fan. He plans to build a metal shroud around it, put it on heavy duty casters, and use it in the garage this summer.
Next to come down: part of the exterior siding.
removing the siding from the west side of the house
most of siding removed from west side of house
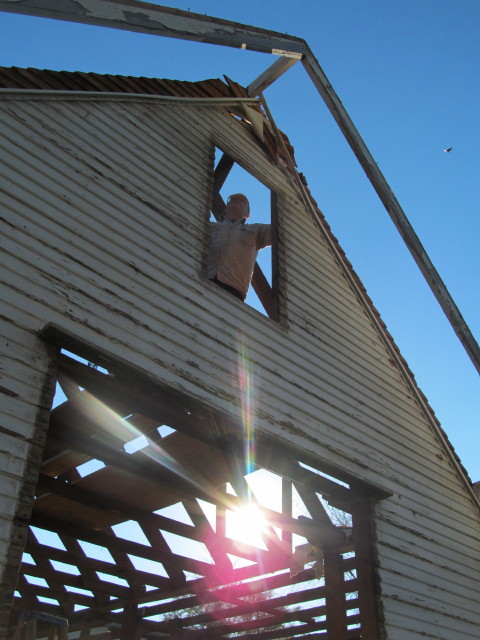
preparing to remove the siding from the peak
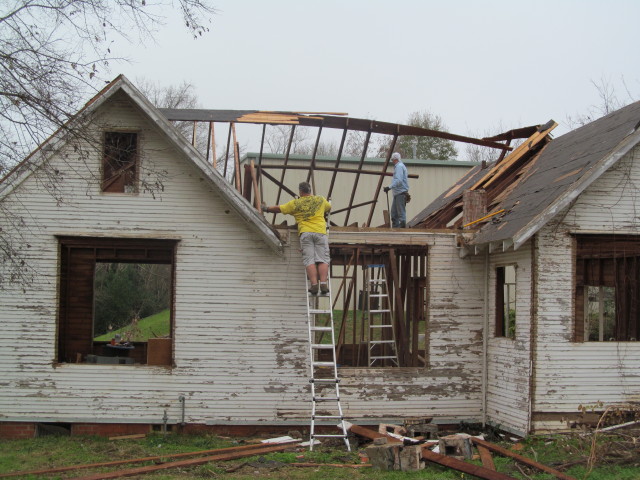
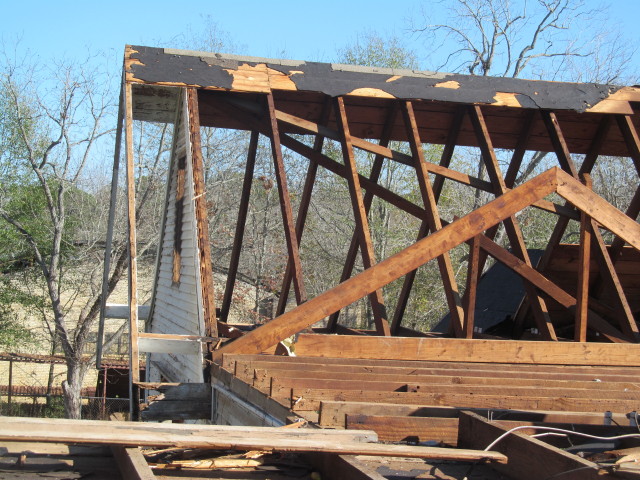
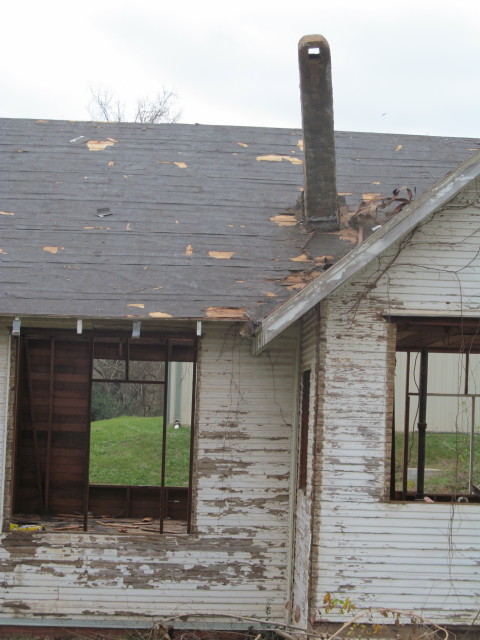
However, we stopped removing siding because the house became a little shaky, and we decided we needed the stability that the siding allowed to remove the roof.
We put it off as long as we could, for sure. No one likes removing the roof. Skinning the roof is inherently dangerous, and the cleaning up the mess is usually a huge labor-intensive job. Plus, removal of the roof exposes us to the elements, and as we suspected but hoped would not happen, the seasonal rains, so common this time of year in East Texas, really slowed our progress.
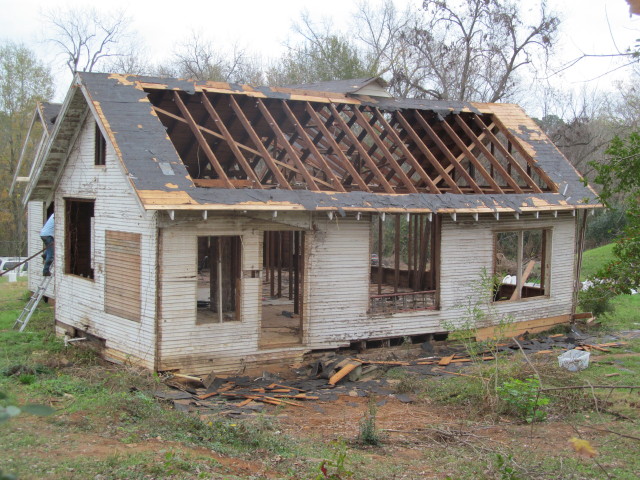
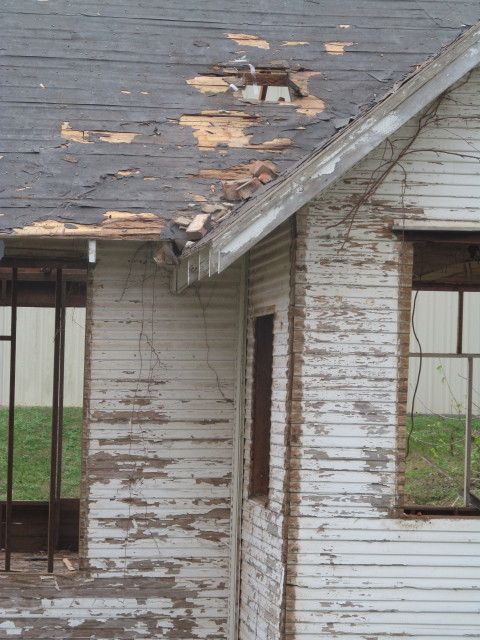
roof removed from the back of the house
roof removed from midsection
roof removed from front of house
a neat bird’s eye view of the roof
Before we removed the roof from the midsection, we had to pull down the old fireplace. Working around it was just too dangerous.

chimney chained and ready to be pulled down
brick chimney pulled down easily
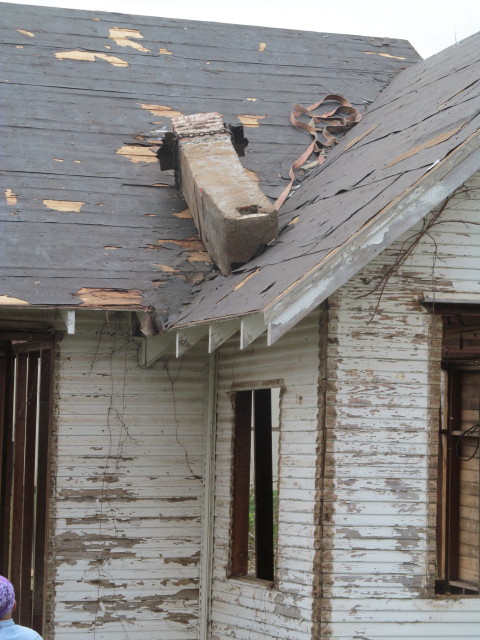
brick chimney laid down
a hole where the brick chimney used to be
We were able to salvage a lot of old bricks, including Mexia and Corsicana Reds.
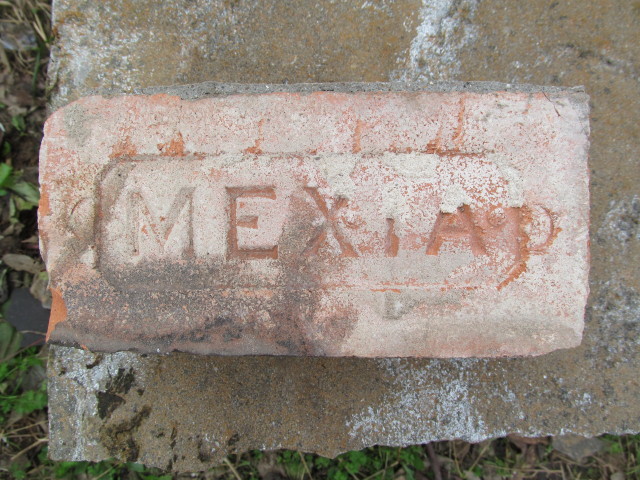
an old mexia brick
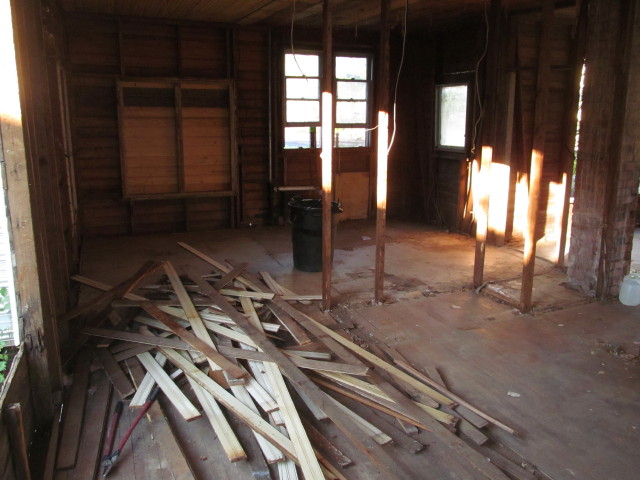
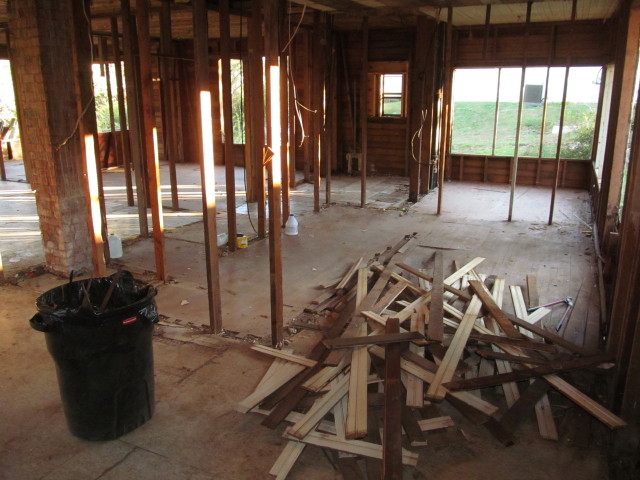
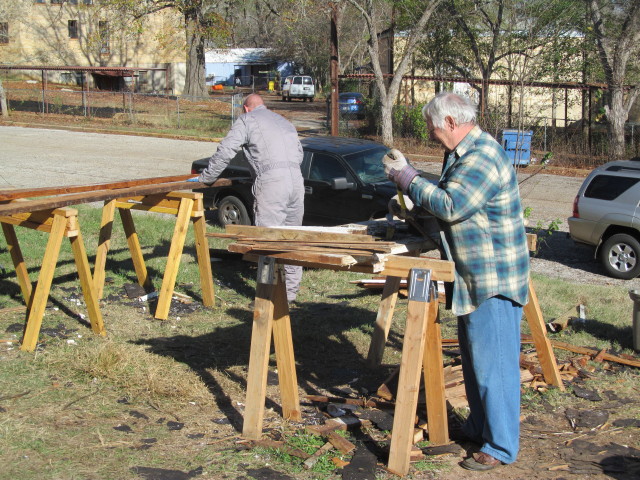
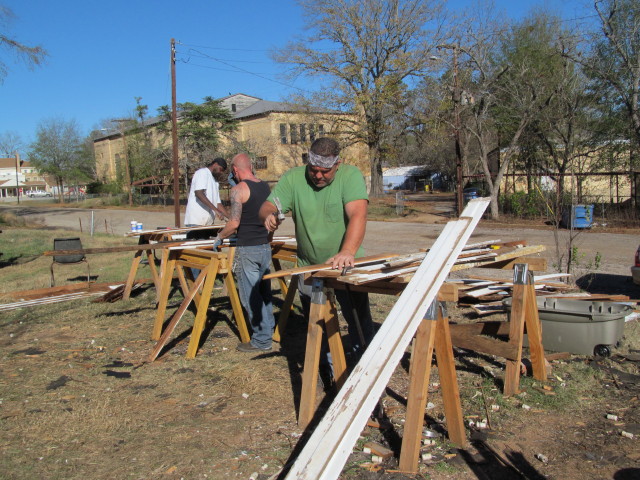
Taking down old wood houses requires a lot of labor hands. We were fortunate to find several local workers who we hired on a contract basis to help us de-nail, do cleanup and stack wood into the trailers for the trip to storage.
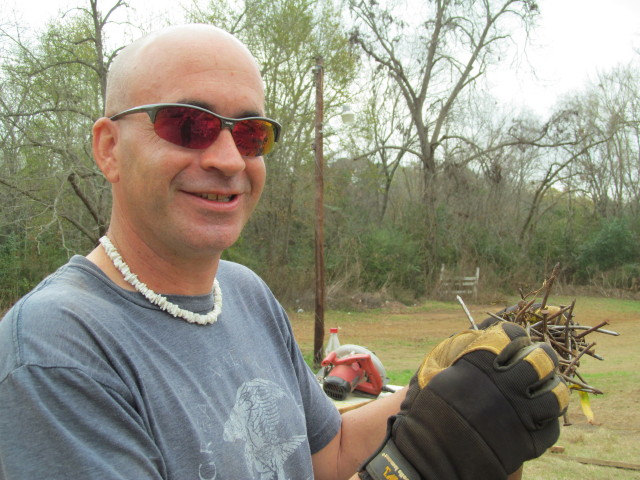
John, always with a smile on his face
Gordon and Cliff
Mark, Cliff, and Bobby
Some of the local creatures just wanted to see what was going on. (We found hundreds of these little guys.)

A gecko friend
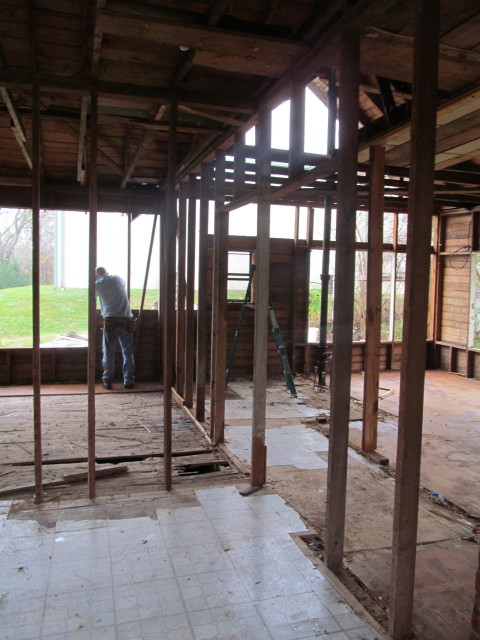
So with the roof and most of the walls gone, it was time to get the finished floors up.
Most of the finished floors in the house had moisture damage so severe that they were not saveable. However, we were blessed to salvage a lot of really great old oak hardwood flooring that will certainly be used on a new home build soon.
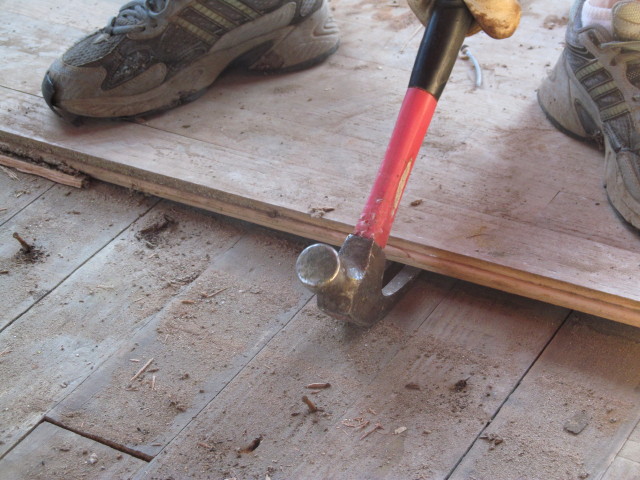
removing the oak floors, one board at a time
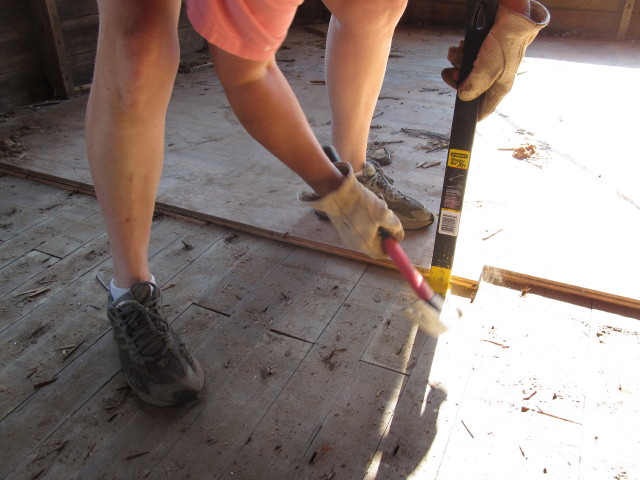
prying up the oak floors
I can’t believe it was warm when we started this project(!!), but the photos sure do attest to that fact.
roof is gone
open to the sun (and the rain)
interior view of west side of house
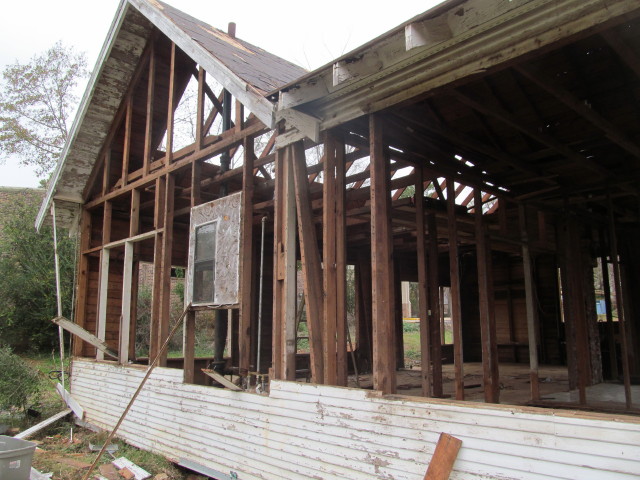
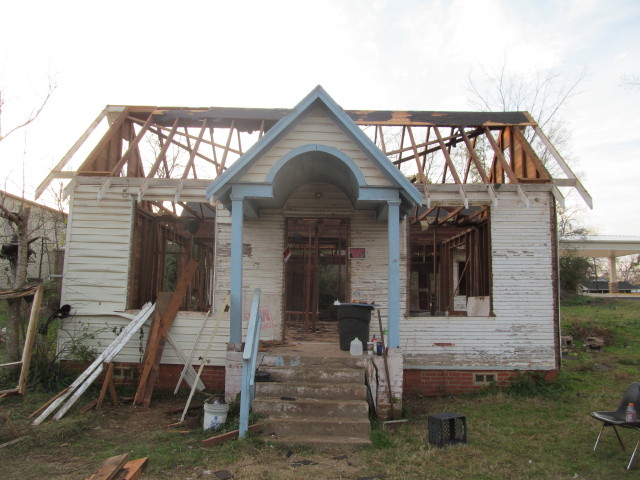
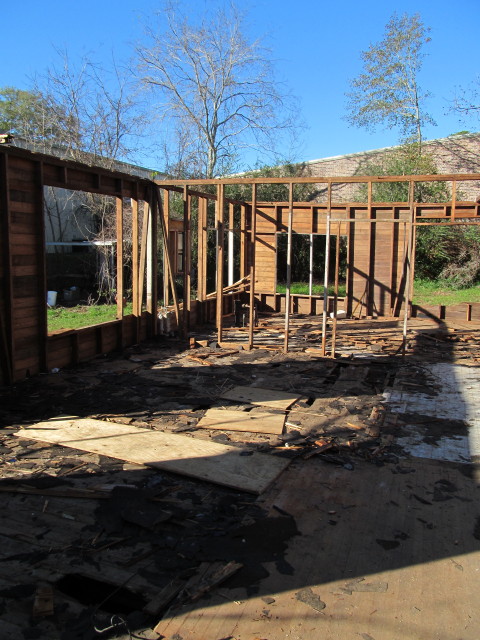
With the roof now gone, we were able to resume removal of the siding.

more siding and interior walls removed

siding removed from 2 walls
siding removed reveals the “bones” of the house
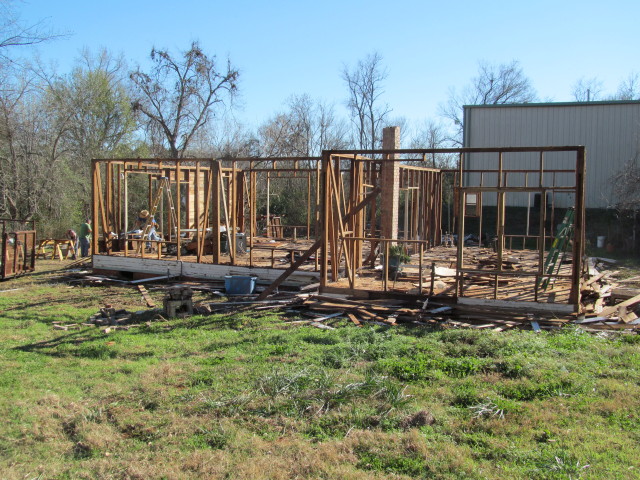
siding almost all gone
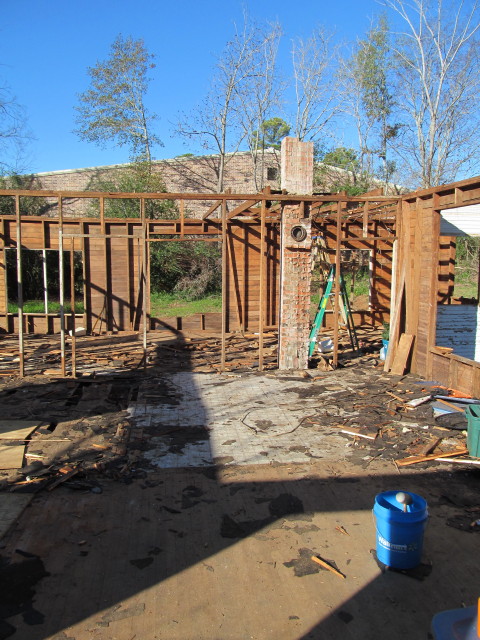
Next, the wall and ceiling framing came down. We salvaged many old 2×4’s and 2×6’s.
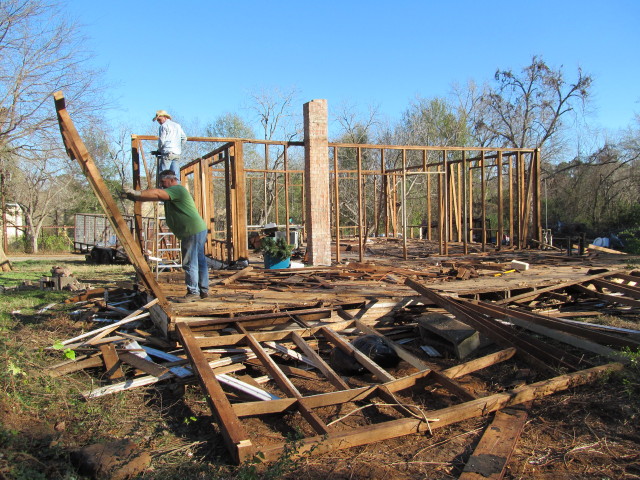
wall framing comes down
Next, we removed the subfloors, floor joists, and beams. We discovered (disappointly, for sure) that most of the wood was rotten. Still, we were able to salvage some good lumber.
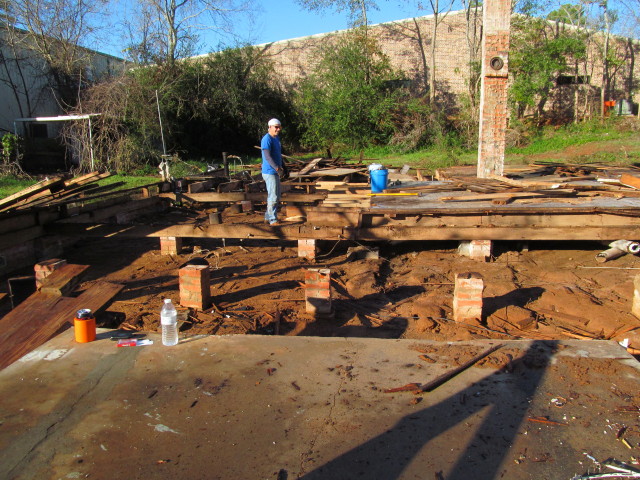
removing floor joists and beams
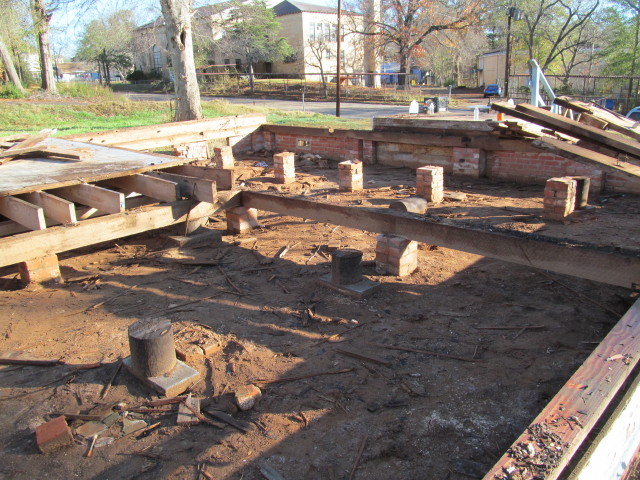
removing the house foundation
As the project neared the end, the old brick chimney was one of the last features still standing. We did that on purpose because we sure didn’t want the hassle of bricks going thru the floors. Plus, we all thought it was kinda cool to see the chimney standing as the last monument to the once vibrant house and home to many a family in its decades long life.

the remains of the old fireplace
the old fireplace falls
A full day of John’s riding the jackhammer got all of the solid concrete steps busted up and ready for the trip to the dump.
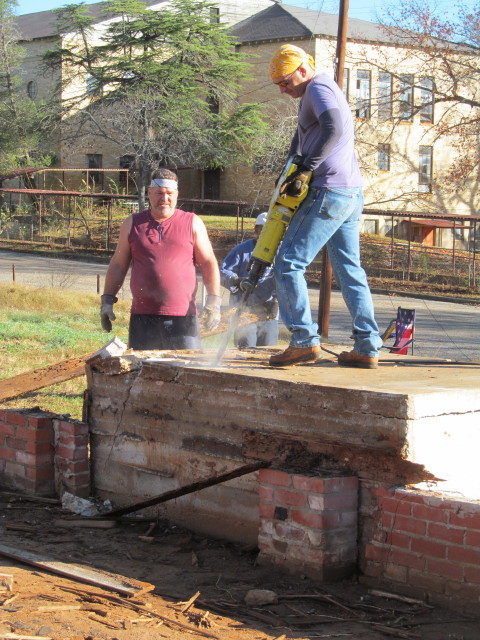
jackhammering the concrete porch
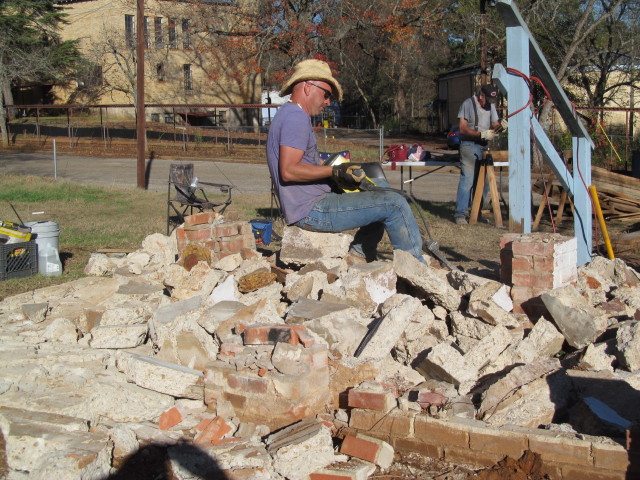
concrete and brick rubble
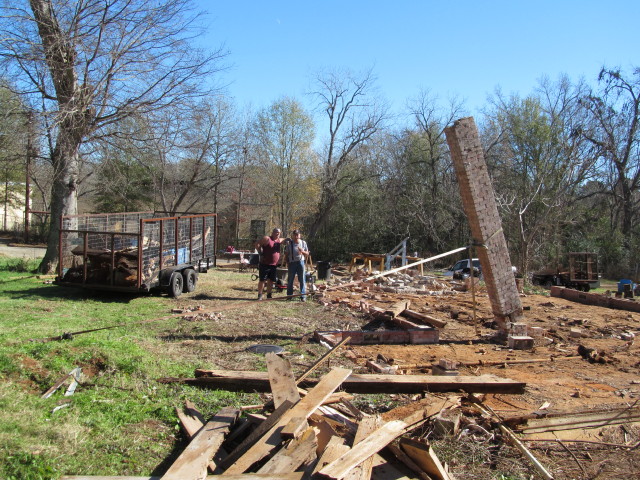
Final cleanup of the project site was finished approx. 5 work weeks after we started Rusk. We had scheduled the job for just 4 short weeks, but rains and the holidays extended our plans.
All in all, it was a very successful project for Living Vintage. We salvaged thousands of pounds of old growth lumber that would have ended up in a landfill, made some great new friends, and added to our ever growing inventory of hard-to-find materials, destined to be someone’s new home in the not too distant future.
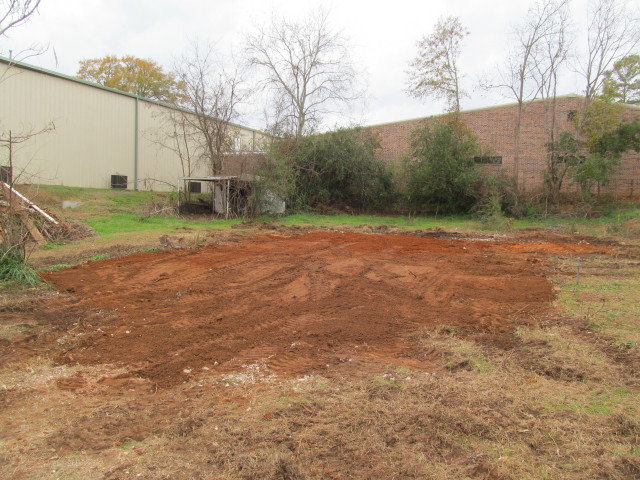
site cleaned
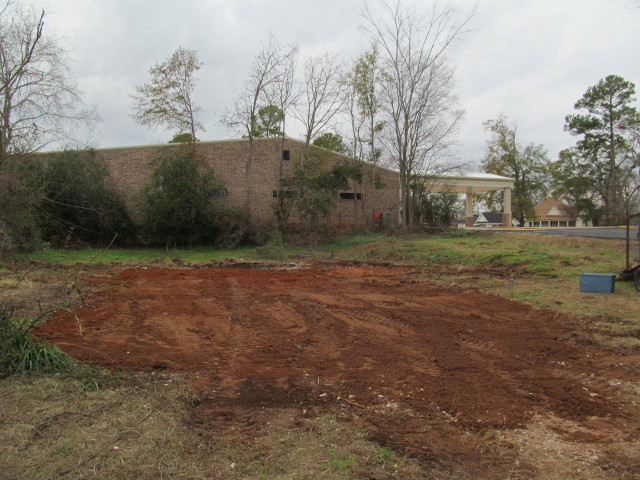
bare ground and we are done!
We want to say our very special thanks to Clint, Troy, Bobby, Gordon, and, of course, John and Kristina Piper for all of their help with the project. We are off to Crockett, Texas for our next project.
If any of you know of someone wanting an old family house salvaged, please reach out to Kim or Mark Gaynor. We’d be happy to look at your project.
We are also planning on updating our online inventory of materials for sale. Please stay tuned for that too. In the meantime, if you are looking for old vintage materials, like wood, old windows, doors, hardware etc. Please call us at 936-858-2875. We would be happy to talk about your needs and show you the gems that we have salvaged.
A W E S O M E !
🙂
Did you save the mexia brick? I would love to have/buy it!
Yes, we still have some mexia brick. How much are you needing?
Hello there! This post couldn’t be written any better! Reading this post reminds me of my old room mate! He always kept talking about this. I will forward this write-up to him. Pretty sure he will have a good read. Many thanks for sharing!