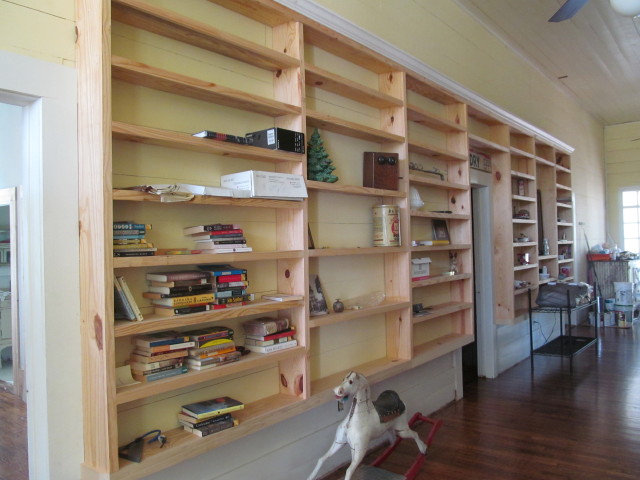
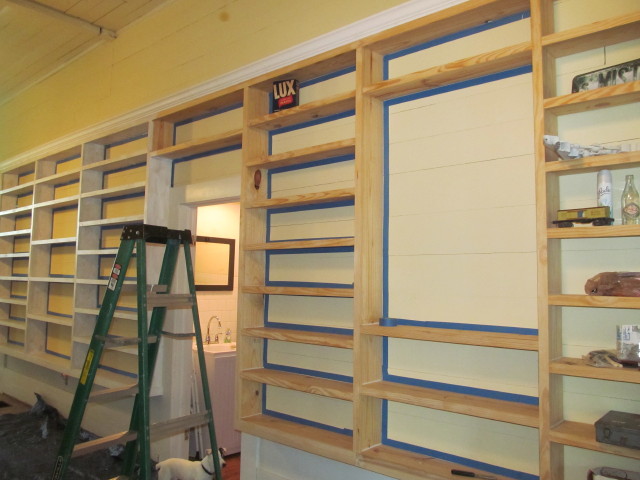
One of the goals I mentioned in April — has it really been that long? — was to paint the bookshelves we built in our dogtrot about a year ago.
Yes, I really am that far behind schedule. My how time does fly.
Chapter One:
I started painting them, oh, about a month ago.
It’s been decades since I painted bookshelves, and I had forgotten how painful it is to paint them.
OK, maybe not painful. “Painful” should be used for things like childbirth, broken limbs and root canals.
No, I had forgotten how time consuming it is to paint shelving. So much so, that I almost entitled this post, “Whatever Possessed Me to Build So Many @#&* Bookshelves?”
Unlike painting a flat wall, you have to paint up, down and sideways, all the while making sure that you’re getting the entire area covered and smooth. (i.e. no drips).
Oy.
I admit I am a slow painter, but it took me 8 hours to paint half the bookshelves.
Half. 8 hours!
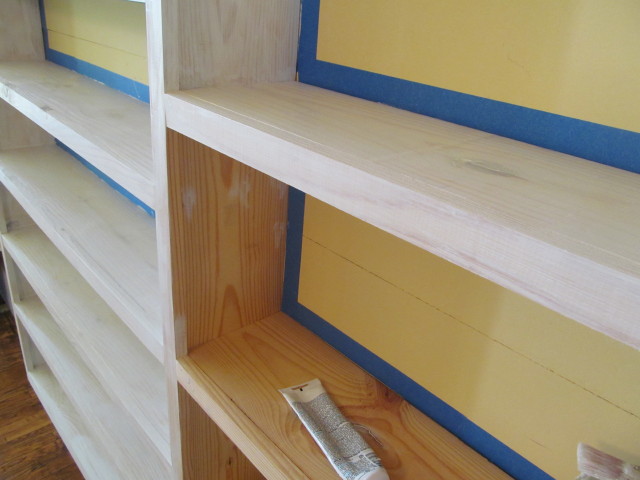
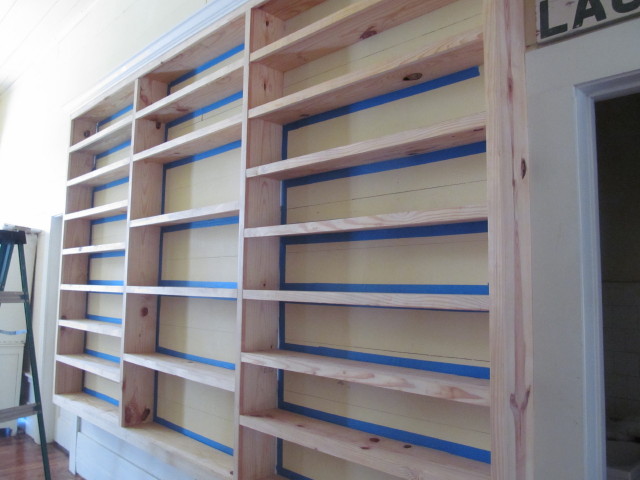
Half times 3 coats of a paint (a primer coat and two finish coats of paint plus the time it took to apply the painter’s tape, which my husband did, thankfully).
It’s no wonder that it took me three weekends to get the job done.
Or was it four? Maybe it was four.
Listening to Dish Network’s CD channels helped. I reminisced listening to the Bob Seger, The Cars, Chicago, Pat Benatar, the Eagles, Talking Heads, Fleetwood Mac, Elton John, Duran Duran and so forth.

If you are a child of the 70s and 80s, I know you can relate.
Chapter Two:
Imagine my delight when the bookshelves were finally painted and fully dried.
Yay, I said. Now, I can finally get my books and decorative things out of boxes!
Ha! Not so fast, sister. I did say this was …… da-da-dummmm, “The Bookshelf Project That Would Not End”, now didn’t I.
Guess what happened when I removed the painter’s tape?
Yes. That.
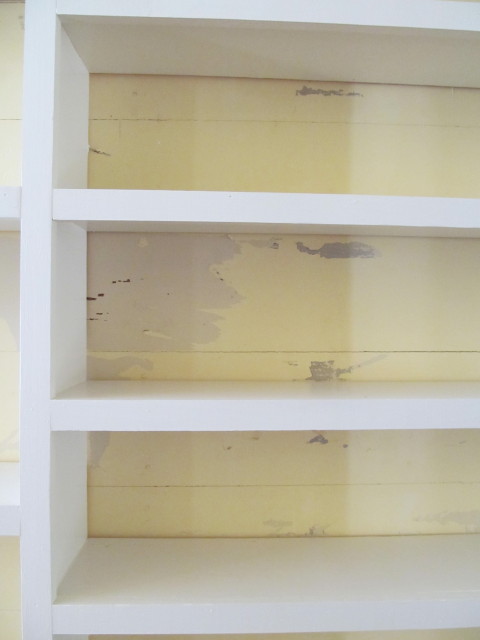
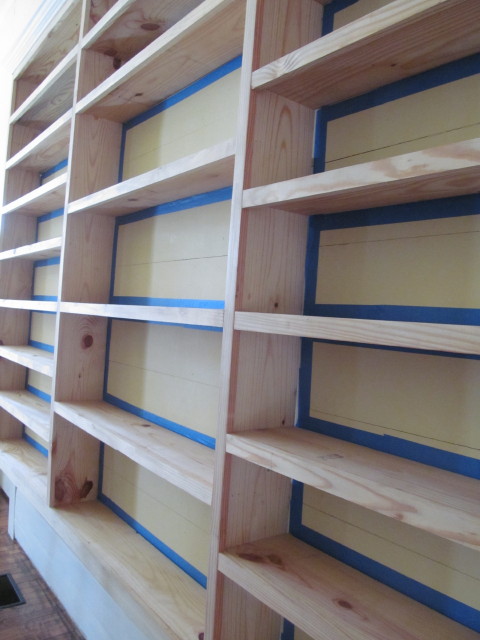
… and this:
… and this:
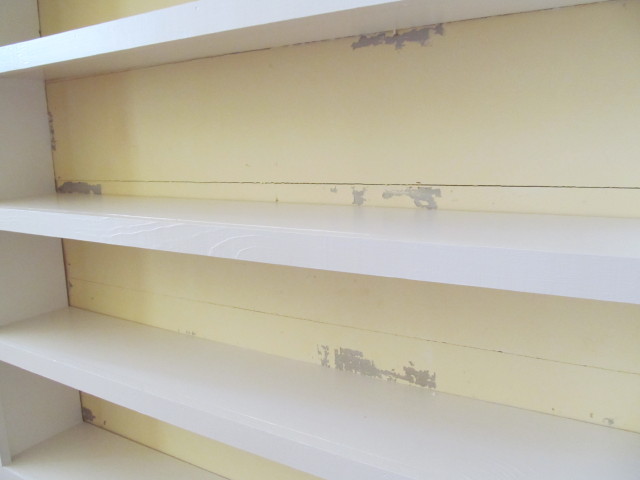
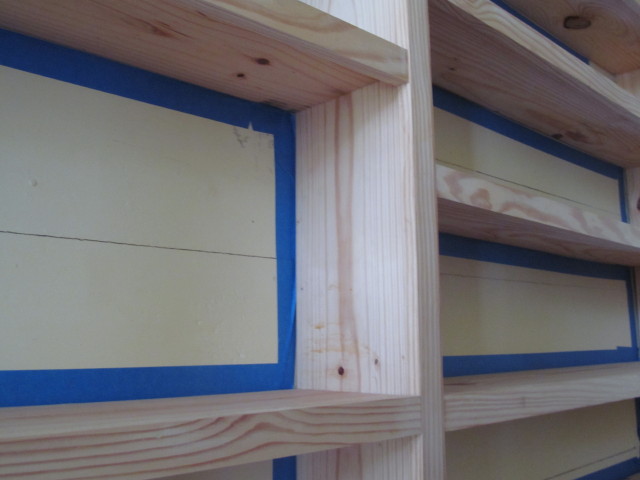
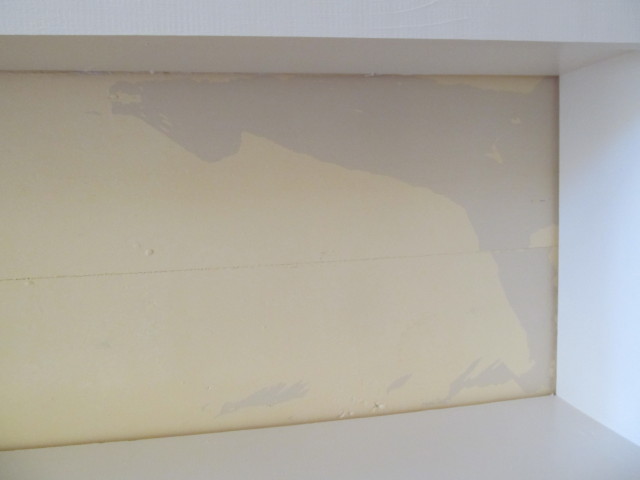
Like your skin after a bad sunburn, the painter’s tape just pulled a lot of the yellow paint right off the wall.

Was it a tape fail or a paint fail?
I don’t know for sure, but I suspect one of the prior owners was naughty and did not prep the wall area appropriately before painting it yellow.
Chapter 3:
We had a big decision to make:
1. Leave the wall “as is” and live with it. Hope that the books cover most of it and visitors do not notice.
2. Paint the walls.
3. Install reclaimed wood.
Evaluation of the options revealed:
#1 was not an option for me. “Live with it”? Bah! If I could live with something, we wouldn’t have started remodeling this house to begin with.
#2? I’m so done with painting (that area of our house). Show me another paint brush anytime soon, and I’ll probably use it as a weapon.
Of course, we chose #3. It was the only option. It was the best option.
You know we live and breathe reclaimed wood. We love it! We have reclaimed wood coming out of our ears!
From our stash of wood loveliness, we simply needed to choose the thinnest wood that we could find. Anything thicker, and I would give up valuable depth that’s needed for my books.
In the end, we chose old beadboard that we salvaged from our Jacksonville and Trinity projects.
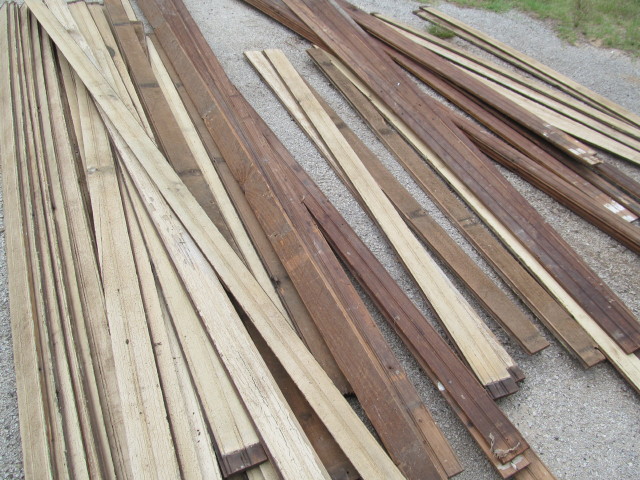
About 75% of the sticks are yellow. The rest are chocolate brown.
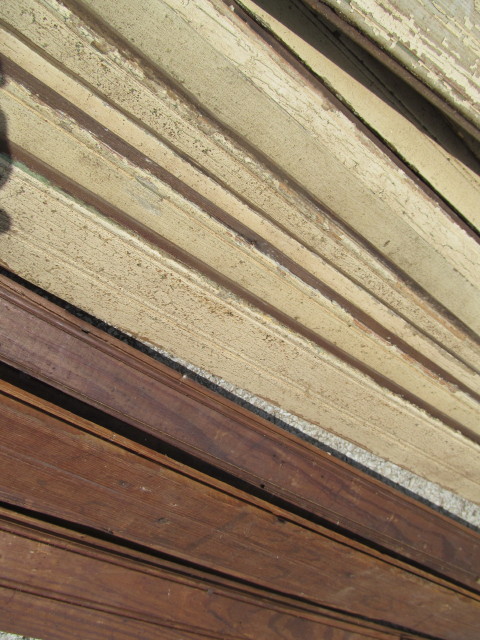
We’ll mix the two. It will be a happy marriage.
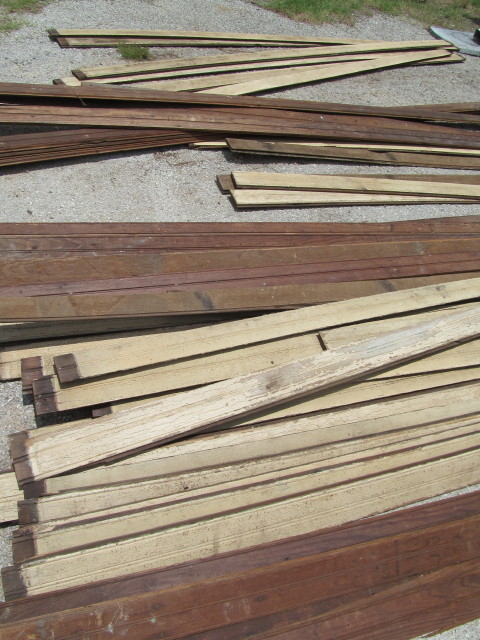
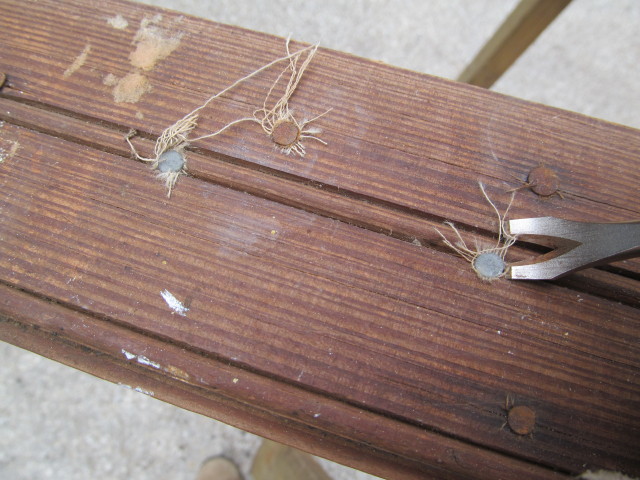
Last weekend, I started removing tacks from the brown beadboard.
Soon I’ll finish with that, then I’ll clean the whole shebang using mild dishwashing soap and a little bleach.
The Texas sun will dry them. I’ll stack them in the house, ready for the big day when we install them.
I’m beginning to think this project may end a lot better than I first thought.
****************
I always look forward to reading your comments… thank you for taking the time to leave one!
and yes this is just my two cents… heck you probably have it installed already. I would just fill up the shelves and walk away. I’m thinking the shelves look narrow to start and adding the reclaimed lumber will take away from the overall depth. I have endless bookcases and once filled you never really see the back wall, some of mine are painted pop color or covered in maps. BUT I really like the look of the peeled paint. AND if your like me you have a thousand other projects to do. (but why did that paint fail… it’s coming off areas that the tape did not touch, moisture, acrylic on oil?
No, it’s no installed yet. I’m still busy cleaning it.
I truly do appreciate you giving me your two cents, but I think I have my mind made up. I have this thing for beadboard, don’t-cha know. I love it.
Although it may not look like it, there is more than enough depth for books. The bookshelves are 8-1/2 inches deep, and most books (including hardbacks) are 5 – 6-1/2 inches deep, so I have 2 inches to play with.
Believe me, if I had known this would happen, we would have built the bookshelves a little deeper.
Once we start to install it, if it looks goofy, we’ll stop and go on to Plan B.
Not sure why the paint failed, but it peeled up from the corners where the tape was to where it ended as seen in the pics. A few times, paint peeled off in big sheets.