In between salvaging the old place in Jacksonville and feeling under the weather for a few days, I finally got all of the beadboard cleaned and we were ready to install it.
Last weekend, we completed the project, and I’m excited to share those photos with you.
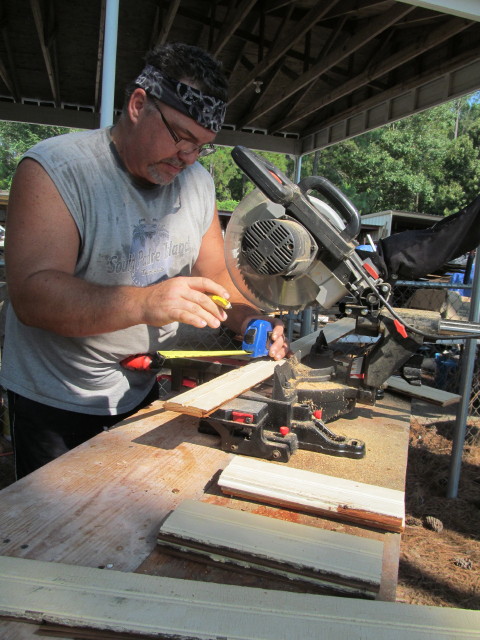
Mark measured and cut the hundreds of pieces we needed.
What fun to see the first several pieces get installed.
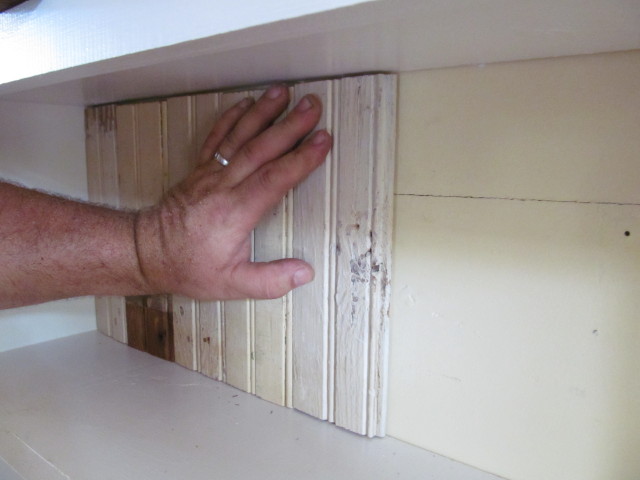
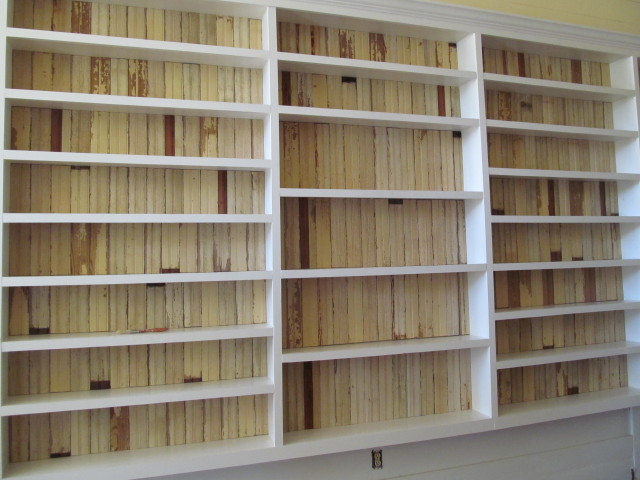
By the way, I mentioned before that I was planning to use yellow AND brown sticks. Well, it turns out that we had enough yellow and antique white sticks so that’s what we decided to use. There was enough brown at the ends of the yellow pieces. I definitely didn’t want to cut that off.
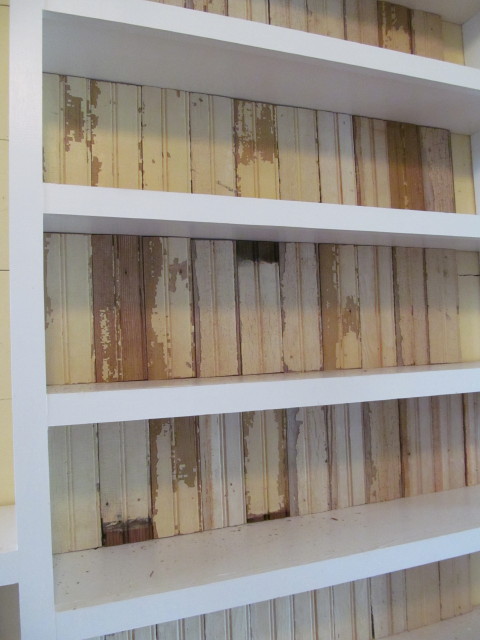
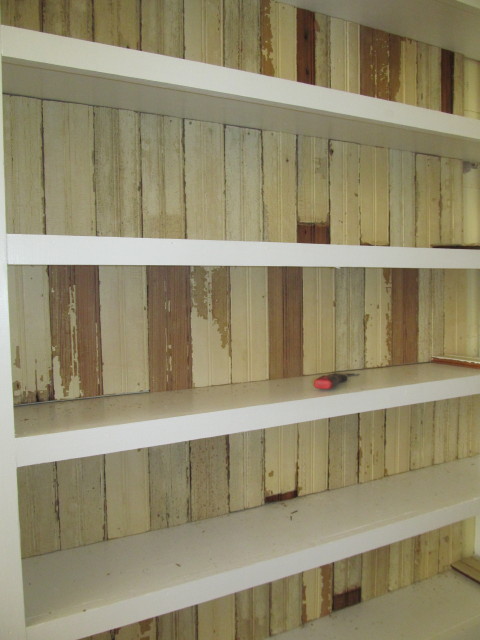
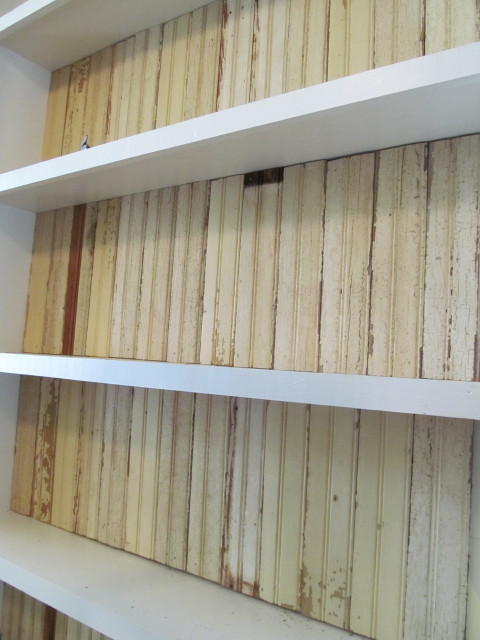
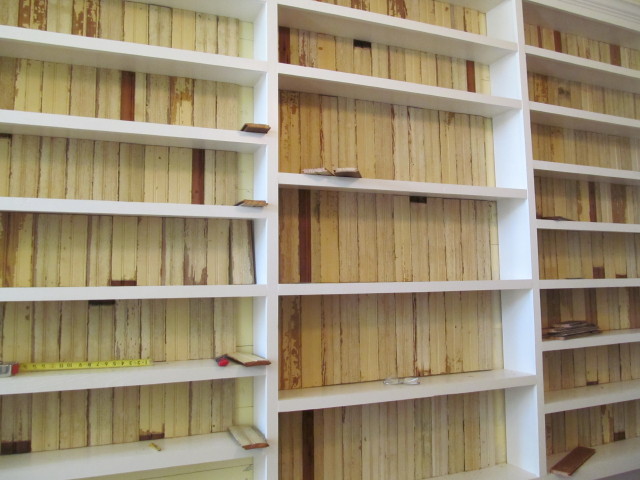
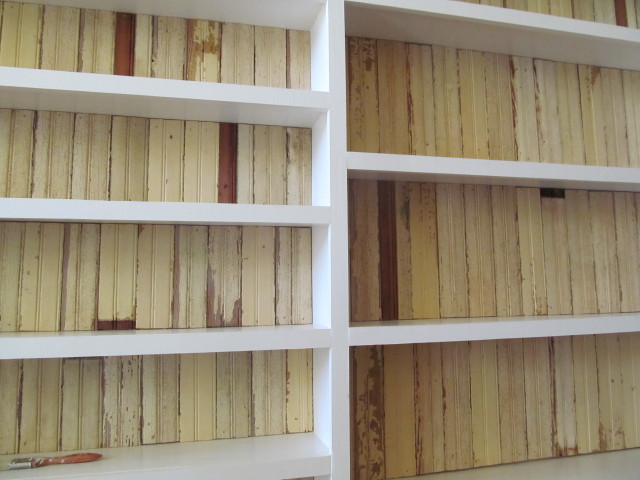
We mixed and matched all of the different colors of light yellow and white beadboard that we had.
I wanted a random finished look.
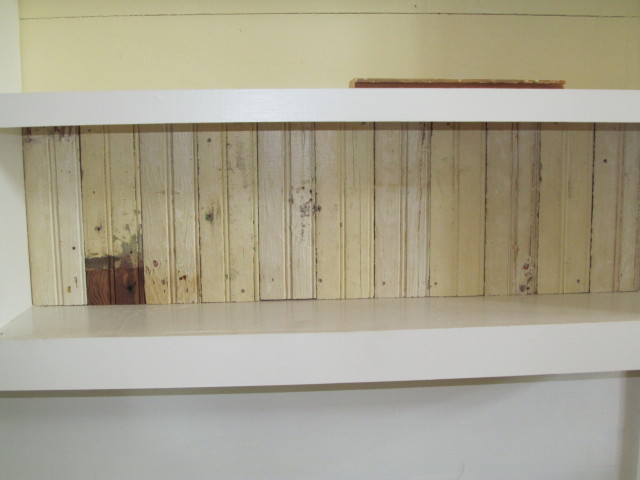
See what I mean? I LOVE the variation.
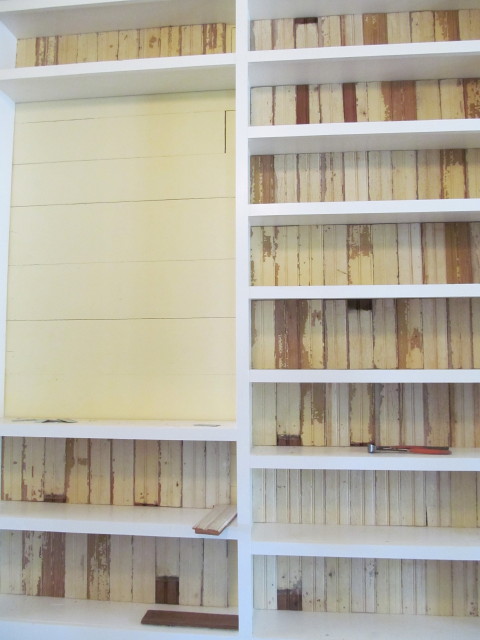
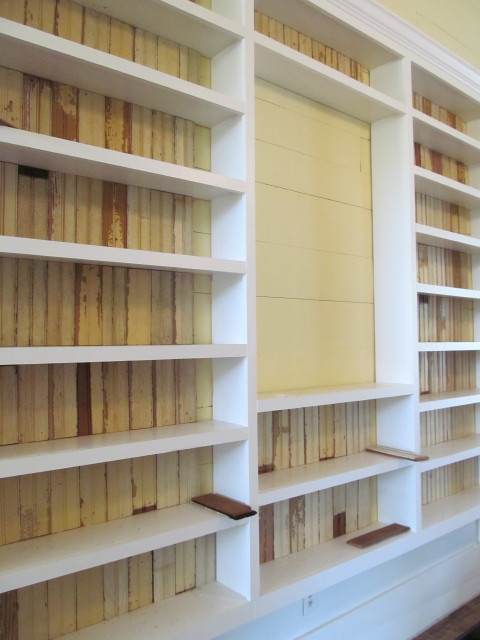
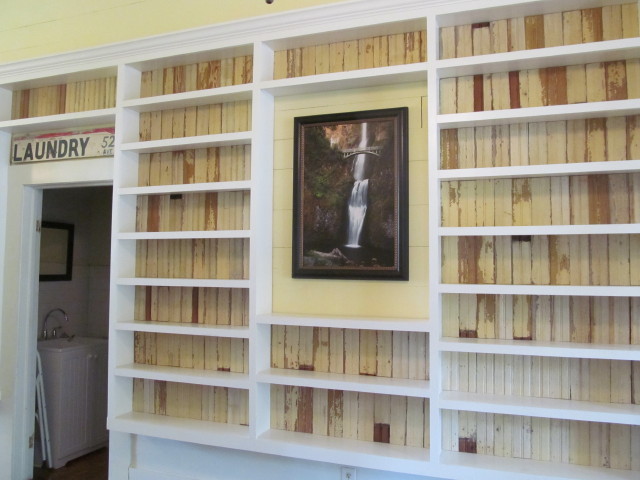
When we designed and built our bookshelves, we specifically left ample room for one of Mark’s framed photographs.
We couldn’t decide if we wanted to install beadboard in that area or not, so we decided to wait until the very end to make that decision.
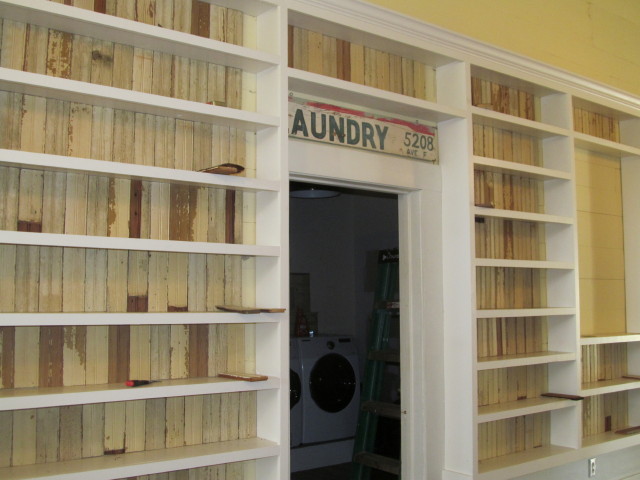
You can see how the bookshelves flank our laundry room. That room is functional, meaning that the washer and dryer work … but it has not been remodeled yet.
That’s a project for another time.
The laundry room sign is vintage. I was told when I bought it that it was from an old general store in Austin.
Makes sense because there is an Avenue F in the Hyde Park neighborhood.
I only know this because we lived in Austin for years. Decades really.
On day two towards the end of the day, all we had needed to do was install the end pieces on each shelf.
Each of those had to be ripped down.
Fortunately, we own a really good tablesaw.
I’m so glad we bought that piece of woodworking equipment. It has paid for itself many times over.
The paintbrush?
We used it to sweep off sawdust from the shelves.
When it was time to clean up, our vacuum cleaner wouldn’t turn on! No clue why.
But I found the owner’s manual, and my handyman husband fiddled around with it and got the darn thing running again.
We were vacuuming at 8 pm.
Not something we typically do that time of night. But, we didn’t want to wake up the next day looking at a mess to clean up.
We also hung Mark’s print of Multnomah Falls, a wonderful remembrance of our vacation to Oregon.

After we hung the print, we stepped back and looked at it for awhile.
It was time to make a decision whether or not we were going to install beadboard in that area or not.
We decided not to.
We like it the way it is: a little different.
Anyway, I’ve got to say that I’m truly thrilled with how it turned out!
Next up: arranging books and decorating the shelves.
But that’s another project … and another post for later on down the line.
******************************
I always look forward to reading your comments. Thank you for taking the time to leave one!

I finally got to see a picture of the slide miter saw. I also remember the trip Mark and I made to get the table saw. As you know both are valuable for the type of work you are doing.
I also agree that your decision to leave out the bead board around the picture was the right way to go. I am very happy to have been a part of the beginnings of your vintage house projects. You and Mark need to stop by and see our back deck project if you ever take a break.
Yeah, and I remember thinking that the tablesaw was not a wise financial move at the time. Yes, I was wrong and y’all were right. 🙂 I am still so thankful that you were able to help us with our siding and window replacement project. Still need to blog about that, too. We will drop in one day soon, I promise. Miss you guys, and I’d love to see and hear what y’all have been up to.
Oh my gosh how charming, beautiful and something that speaks to my heart. I wish we were neighbors so that I could see all this myself. Thank goodness for computers!
I’m squirreling away similar type things of things for our future dream home. My hubby and I are savers of items “once loved”. I love reading about what you and your husband do. Be well -Sharon
Sharon, I wish we were neighbors also because I can sure tell you love vintage things. My goodness, your inn is fabulous! We’ll definitely have to make plans to visit beautiful PA one day. We’ve been to Maryland, Maine, South Carolina, and we’re planning a trip to Kentucky and Tennessee this year. It will happen one day …
I love it!!!! Give me an idea for the very dull look of our fireplace mantel……Honey!!!!!
awesome!