Sorry to have left you so abruptly last time, but I felt like my last post was long enough … (maybe even too long) ….
To continue from where I left off before …
After we completely demolished our kitchen and did all the work to the floors and walls, we roughed it for about a month.
Have you ever been without a kitchen for that long? I’ve been through it before when I remodeled my home in Austin, so I was somewhat prepared, and I’ve got to say:
It wasn’t too bad this go-round either.
We had our temporary kitchen set up, and there was a plug nearby so I was able to prepare my coffee each morning. I must have my coffee in the morning.
Our good dishes were still boxed up from our move from Austin to East Texas and rather than risk breaking something, we bought some cheap plastic dishes from Walmart and used them.
We also have a nice gas grill, and we grilled outside a lot. My husband is really good with the grill, so that part of roughing it didn’t feel like a punishment at all. We also have one burner on our grill so we were able to prepare side dishes and one-dish meals also.
For meal cleanup, we had already installed a utility sink in our laundry room for bathing our small dog … (this is when we just had Kacy, our Jack Russell) … so I used that sink (cleaned, of course), Home Depot steel shelving, and old towels to dry dishes.
We ate out more often than usual, too.
Like I said, it wasn’t too bad. I wouldn’t have wanted to go longer without a kitchen, but roughing it was kind of fun in a way.
Maybe “fun” is the wrong word.
Let’s just say it was an adventure.
It reminded me of camping. Not something I’d want to do every day or even every weekend, but it’s okay in small doses.
After 30 long days, imagine my delight when we our cabinetmaker told us that our kitchen cabinets were done and we scheduled the install!
The big day finally arrived …
The wall of cabinetry where our range and vent hood would go was installed first.
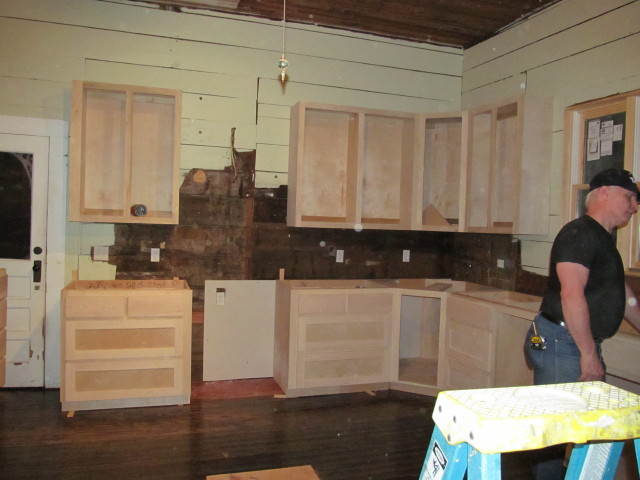
We also designed the sink cabinet location for underneath the window.
The tall cabinet to the left of the sink cabinet is a two-bin trash bin system that I LOVE. One bin is for trash and the other for plastic recycling.
The open area to the right of the sink is, of course, the space for the dishwasher.
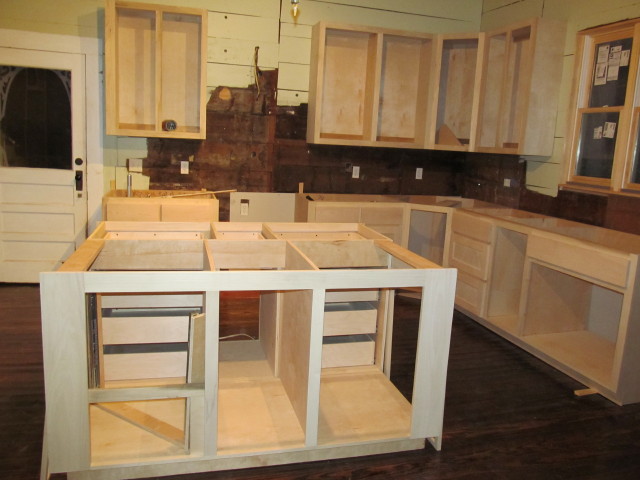
The last thing to get installed was our really, really big island, so large that it had to come through our back door in two pieces.
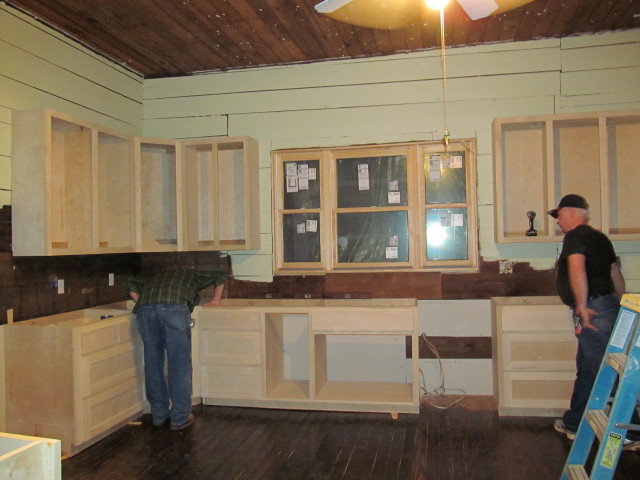
Our cabinetmaker and his son also installed cabinetry next to where the fridge would be located.
Here’s that wall of cabinetry a few days later when the painters were masking off everything that didn’t need to be sprayed.
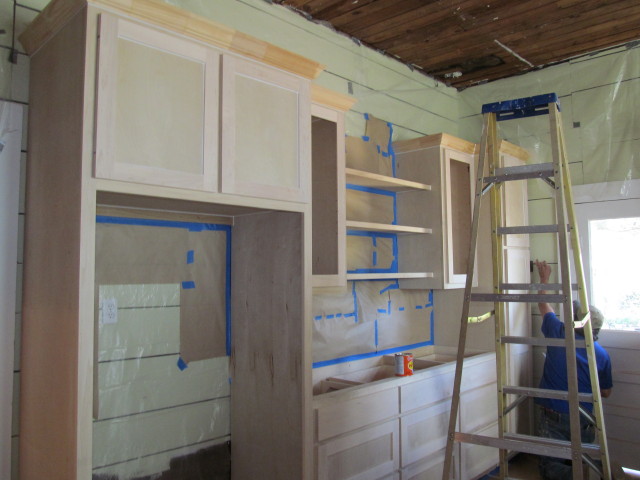
We painted all the cabinets white, except for the island. I like when islands are painted a different, coordinating color, especially in large kitchens like ours. We decided on a khaki color, which you’ll see in the final reveal.
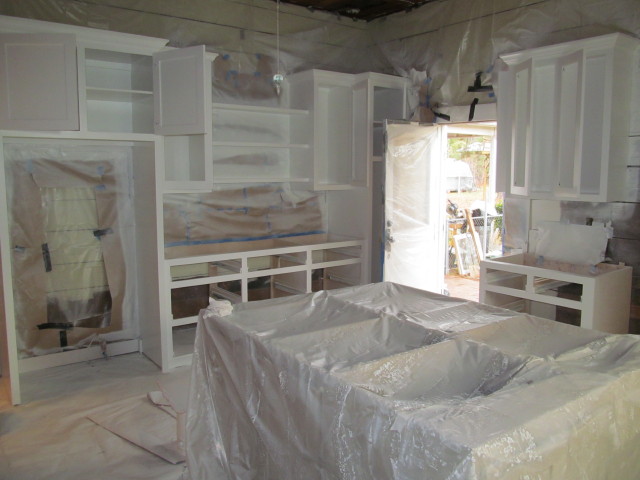
Our kitchen design included more drawers than cabinets with doors. I hate losing things in the back of a cabinet, and that issue is solved with drawers. Drawers are SO much more functional! I just love them.
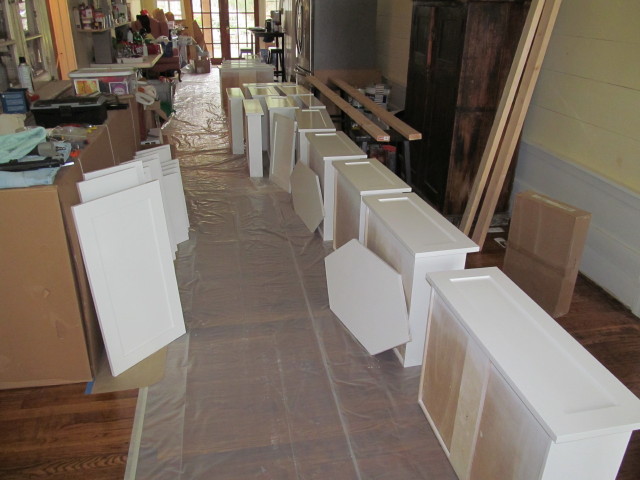
All of our drawers and some cabinet doors dried in our dog trot …
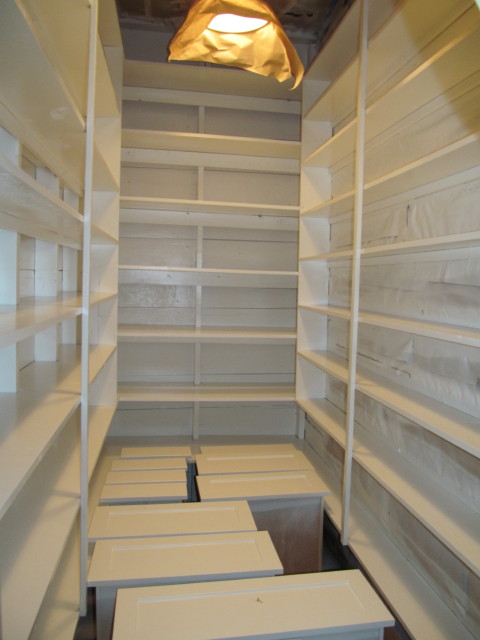
… and our walk-in pantry.
After the paint was dry, Mark and I put all the cabinetry together and installed glass into the upper cabinets.
The granite fabricators we hired also installed our honed black granite countertops.
I don’t have a single photo of that big day! I must have been too excited that day to think of grabbing a camera.
We also built lights out of old schoolhouse globes, the original fixtures, and plumbing pipe.
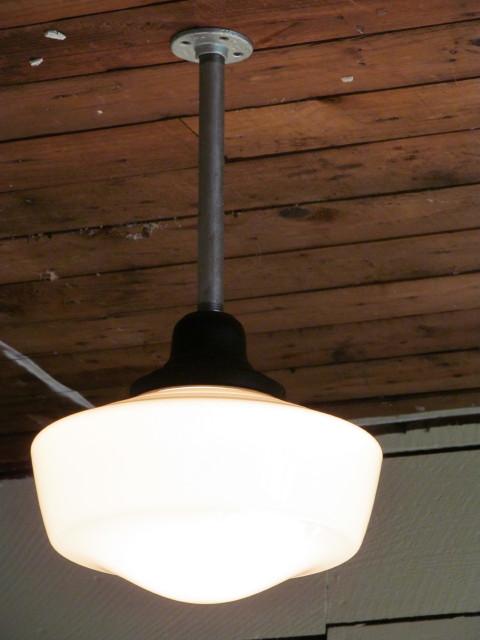
My mom bought me four old schoolhouse fixtures and globes several years ago at a garage sale — I remember the day she called and said she’d bought them for me.
I was thrilled because finding four globes that match is somewhat difficult.
(If you disagree and have a source for old globes and fixtures, please do let me know!)
They’ve been stored in boxes ever since. I decided not to use them in my Austin kitchen remodel — I’m not even really sure why! — but we knew we wanted to use them here.
I love the look of old lights with industrial down rods, and I drew inspiration from a Country Home magazine cover I saved.
(I’ve been saving ideas long before Pinterest.)

Want to see our “almost done” kitchen? This photo was taken when I was unpacking my dishes, pots and pans, bakeware, my kitchen collectibles, recipe books, and everything else kitchen related.
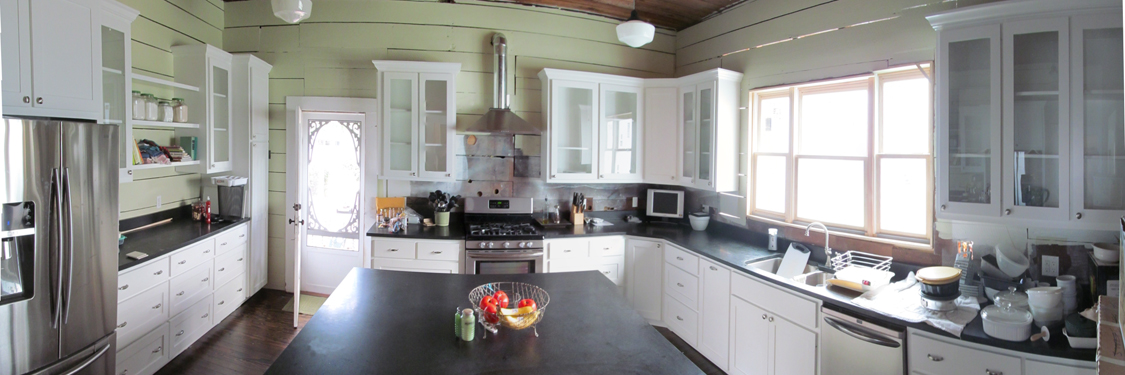
No, this is absolutely not the final reveal.
We still needed to install the backsplash above the base cabinetry, install pendant lights over the island, paint the wood window, and install window trim.
We also needed to install the backsplash behind the range …. which is a saga all it’s own, and I’ll tell you about that next!
I think you’ll be amused.
******************************
I read and appreciate every comment. Thank you for letting me know what you think!

These posts on your kitchen adventure has been fun. Thanks for the details. Can’t wait for the final reveal.
Thanks, Candice!
Looking forward to more pics but have to say how gorgeous your kitchen is. Thanks for sharing it with us. My sister told me about your blog and I love it! Kelly
Awesome! Thanks so much!
Absolutely beautiful makeover! Love that you get excited about old lights, which are very hard to find, especially with the globes and four matching. I wish I could help you with a source, but the only ones I’ve ever found were simply found out of luck.