OK, we have been working hard trying to get our master bedroom done so that we can move back in and start enjoying our room again.
We have finished several projects so far, and I wanted to bring you up-to-date on what we’ve done.
The first thing we did after removing the drywall and repairing the wood walls was install a reclaimed wood mosaic to one of the inside walls.
We decided to do this primarily because the inside walls are not insulated, there were large gaps between the boards, and inside the walls at floor level we could see dirt underneath the inside walls.
In other words, we didn’t want to lose conditioned air through gaps in our wall. We had two choices: either leave up the drywall and choose another option. Rather than leave up the drywall, we decided to add another layer of reclaimed wood.
Yes, this is my idea of excitement. Adding reclaimed wood to a wall, seeing how it totally transforms a room and achieving energy efficiency to boot.
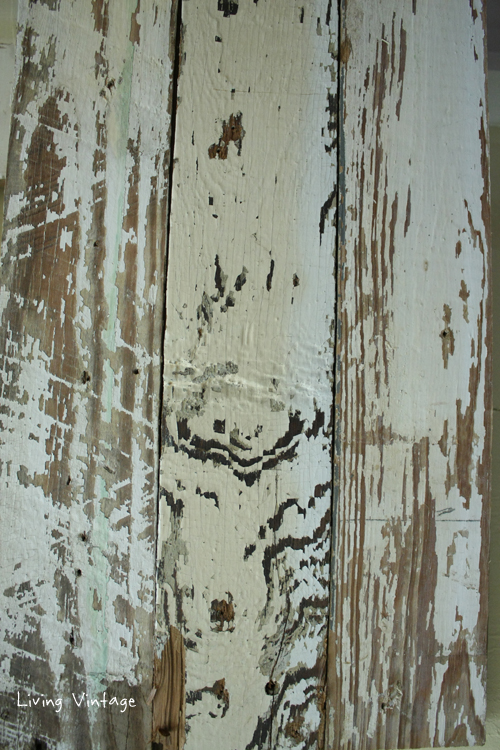
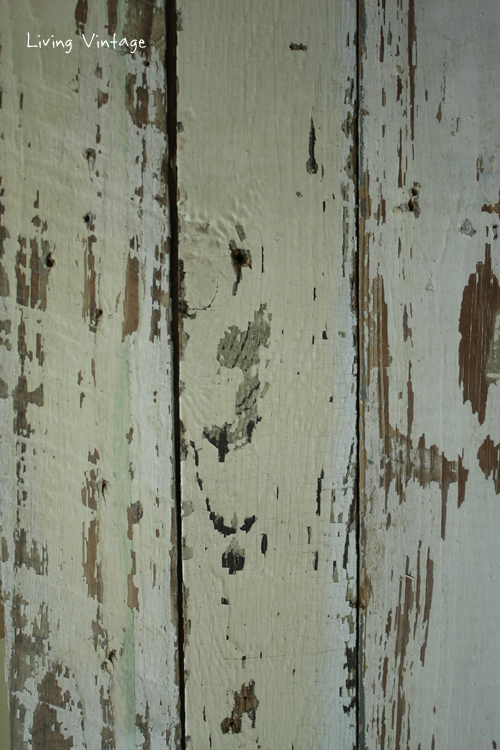
This meant I needed to clean and prep a bunch of reclaimed wood. Obviously, we have lots of reclaimed wood available to choose from, but we chose relatively narrow boards with wonderful chippy paint. I’ve known since January that these would be a good candidate for the wall in our bedroom.
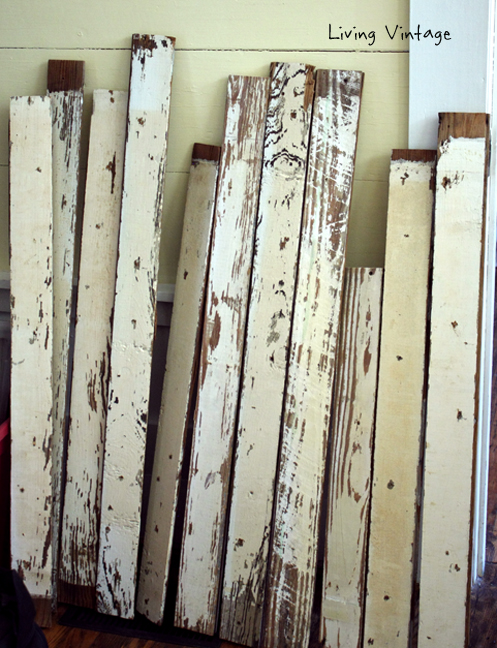
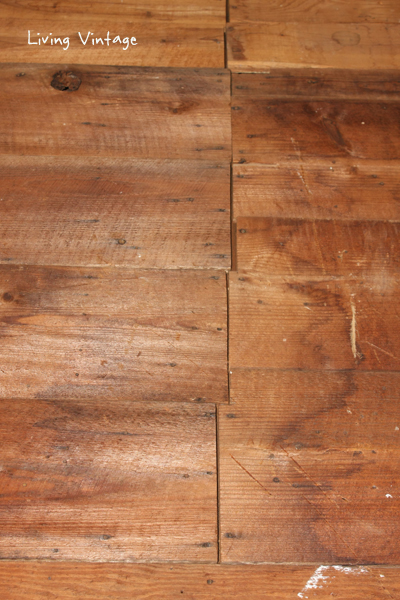
These are technically tongue-in-groove floor boards, but they were used as wall boards in an old house we salvaged in Crockett.
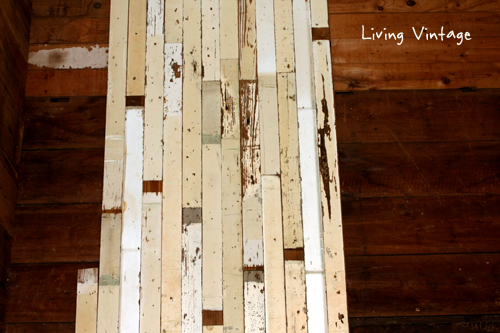
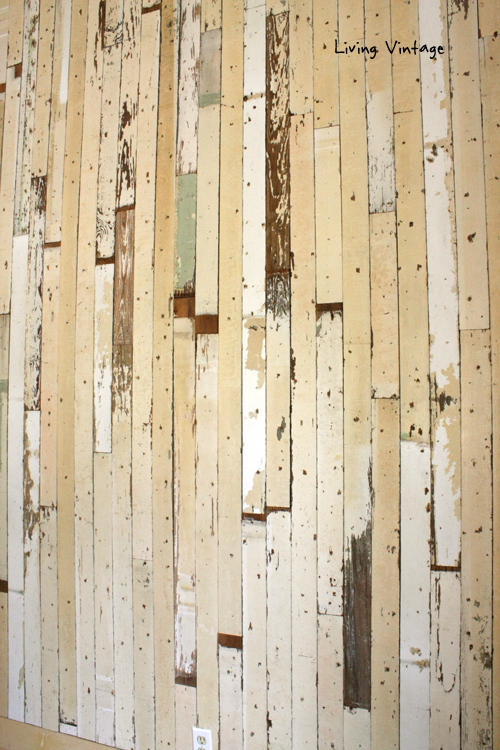
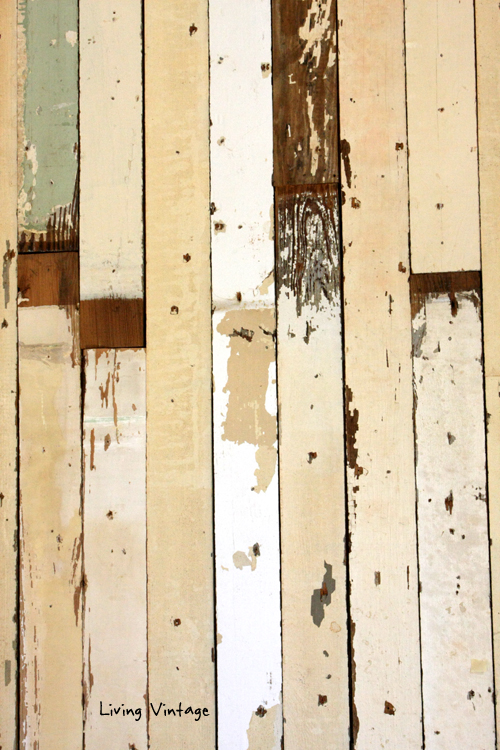
They cleaned up beautifully. They were all so unique in their own way, yet similar in their color palette.
You can see grey, brown, khaki, white, and yellow all intermixed together.
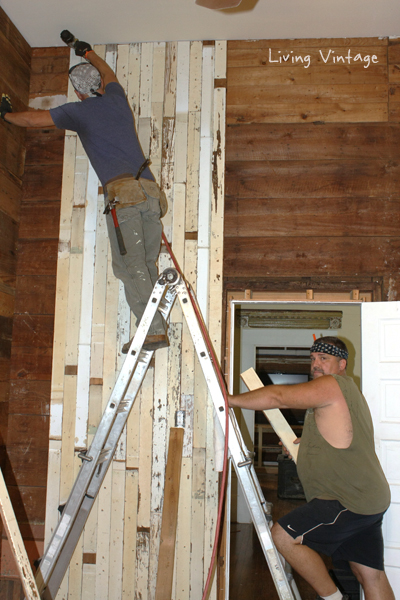
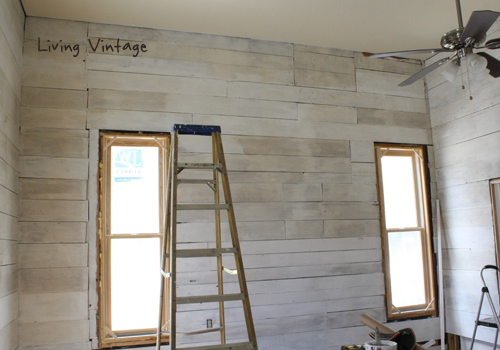
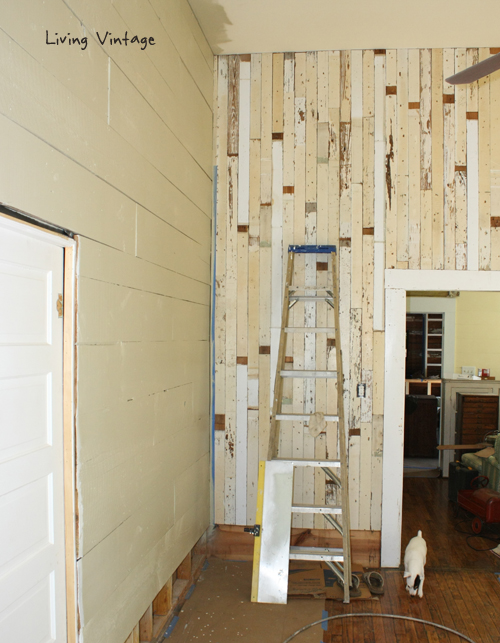
I’ll show you a few in progress photos.
This is John, our regular hired hand. He’s a tough guy because he’s really into karate, but he’s also got a very sweet heart.
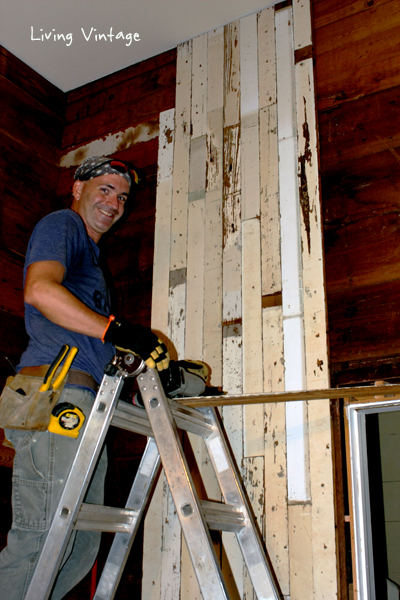
As we usually do, John nailed up the boards while Mark chose colors and cut them outside.
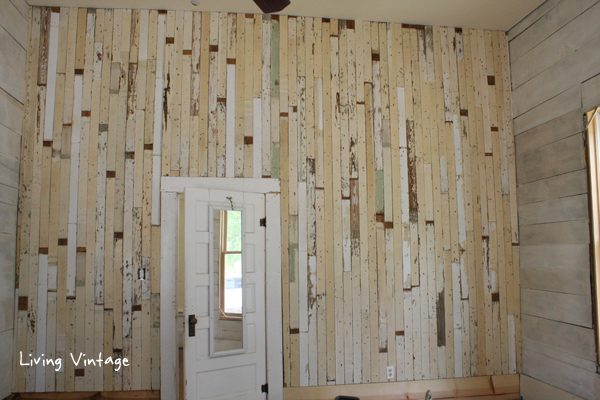
I could tell I was going to love it even when they only 12 rows done.
I think it turned out beautifully, don’t you?
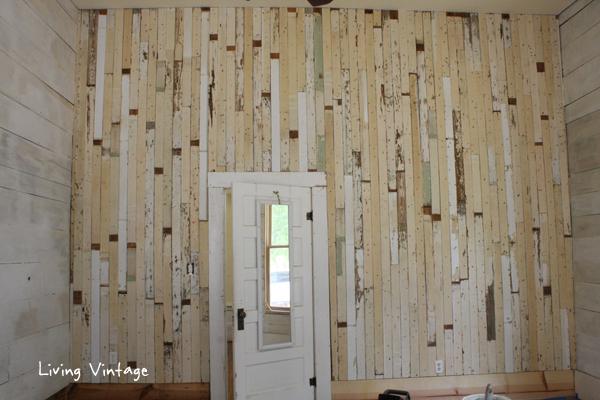
I love all the yummy textures and colors.
Of course, I have to share a few detail photos.

OK, so that project is done (or mostly done). I still need to seal the boards with polyurethane.
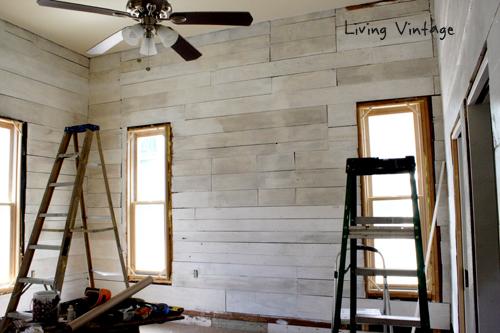
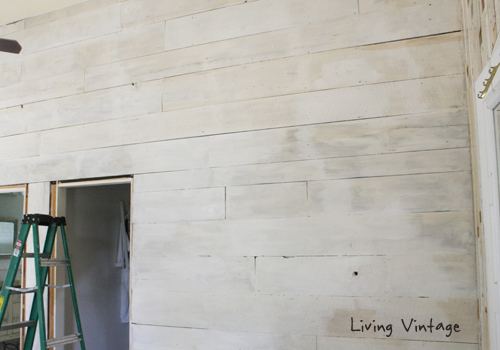
While they were doing the work on the mosiac wall, I was priming the other three walls.
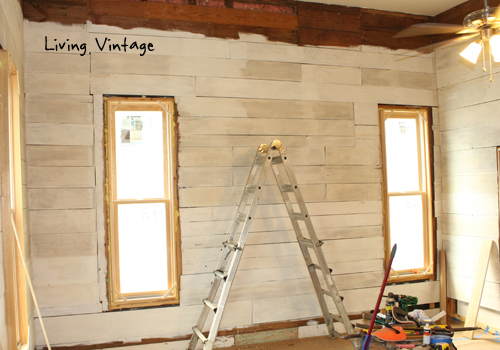
I wasn’t able to reach the last few boards at the top, plus I’m scared of heights — our ceilings are almost 14 feet tall! — so Mark finished the priming part for me.
A few days later, we painted the walls.
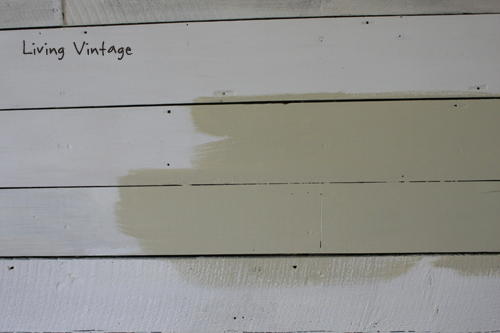
We chose Sherwin-Williams’ Relaxed Khaki. It’s one shade darker than the color we chose for our home office.
We wanted a neutral color that coordinated well with the colors in the mosaic wall.

Plus, our bedroom will be mostly white and earthy colors.
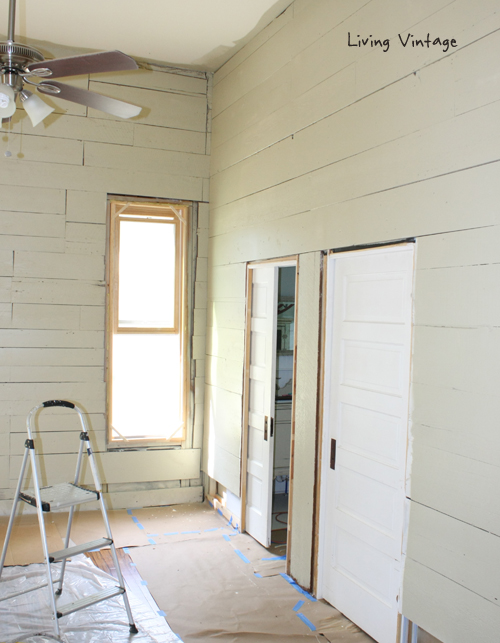
I think we made a good choice. I like it.
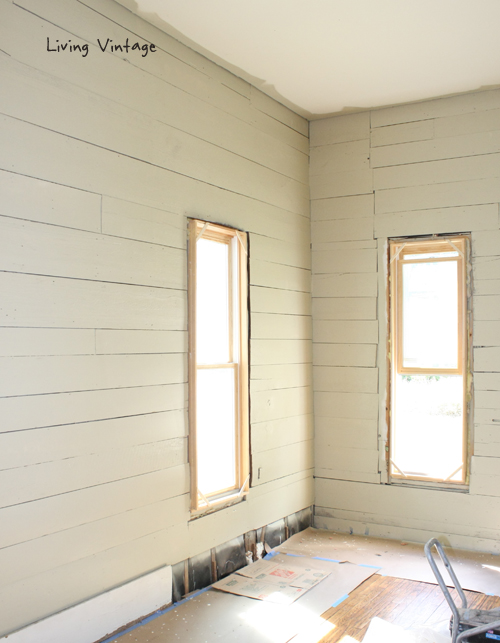
We ended last week by spending the bulk of two days painting and nailing up window trim and baseboard and staining our windows.
We decided to stain our new wood windows, rather than paint them because it’s a whole lot faster than painting — (one coat vs. three), plus I really like the look.

We chose Minwax’s Early American stain.
So that’s what we’ve accomplished so far. I’m really happy with the progress we’ve made and how everything looks so far.
We have three … no six!! … things left on our ‘to do’ list for this room:
- seal the accent wall with polyurethane,
- caulk and paint the nail holes in the window trim and baseboards,
- install ceiling tins,
- build our new king-sized bed, and
- paint my dresser.
Oh, and I need to repair a chaise lounge because our bedroom is more than big enough for me to have a little reading nook. I’ll tell you about that next.

Kim your bedroom walls look great and I love everything you have done with your home, it’s amazing!!
Thank you so much, Kelly!
I wasn’t sure what you were talking about last week when you said mosiac wall, but oh my gosh, this room is fabulous. you guys are some hard workers, and it shows.
I probably should call it something different, but to me, it looks like a mosaic with all the different colors and textures. I mean, who says that a mosaic has to be tile? 🙂 Thanks so much for the compliment! We are certainly working hard to get our house done, so that we can relax a little.
I’m always amazed at how tall your walls are…and how John can go from a tough guy to a sweetheart with that great smile of his!
I know! I’m both looking forward to cooler weather and dreading it. (Another dichotomy for ya.) And you’ve met John, so I know you totally know what I mean.
Love the walls. I sent you an email just a few minutes ago with this same question, but how did you know there was shiplap behind the Sheetrock? I am trying to determine this same thing in my vintage home!
Thanks, Shelley! We knew that there was wood beneath the drywall because our home was built in approx. 1853, long before sheetrock was invented. I received your email, and will respond shortly.
Thank you, Kim! I look forward to your email!
How did you clean and prep the boards? The result is beautiful! I am de-nailing some tongue and groove siding I salvaged for my tiny house and need to do the same thing before installing those. Do you have any tips? Love your blog!!!
Claire, please search my blog on how to clean reclaimed wood. It’s a tutorial and I hope it helps. Good luck with your project!