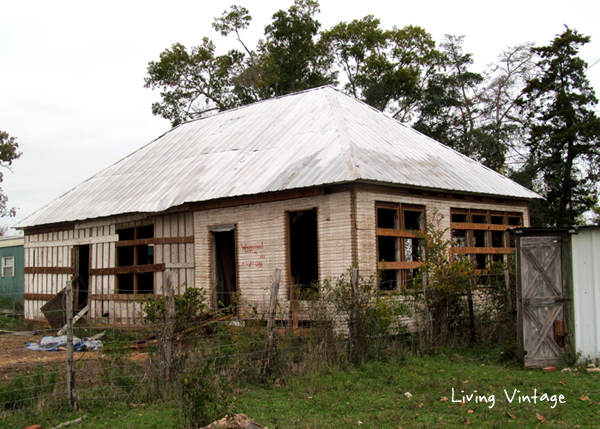
We finished our old house salvage project that I told you about a few weeks ago, and I wanted to share some photos with you.
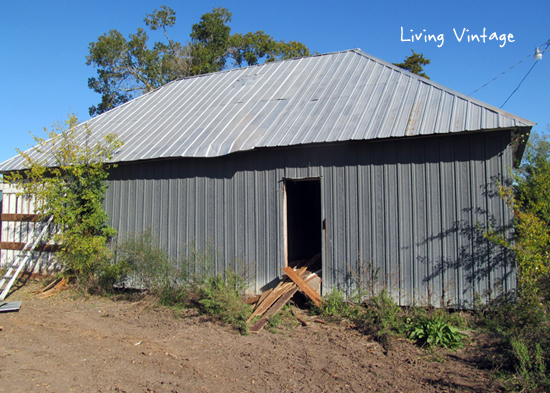
When we arrived to start the project, we started removing doors and uncovering windows to shed light on the interior.
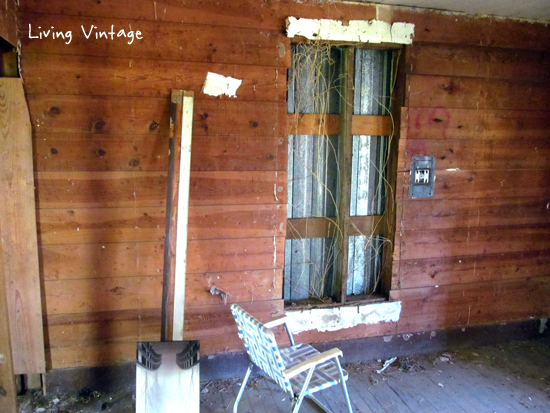
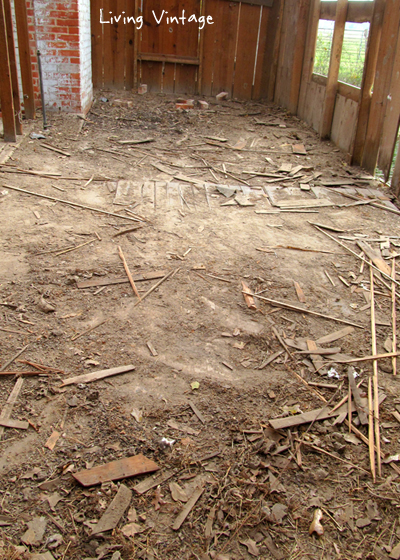
We removed trash, hay, old filthy wallpaper and linoleum, and displaced a few mice in the process.
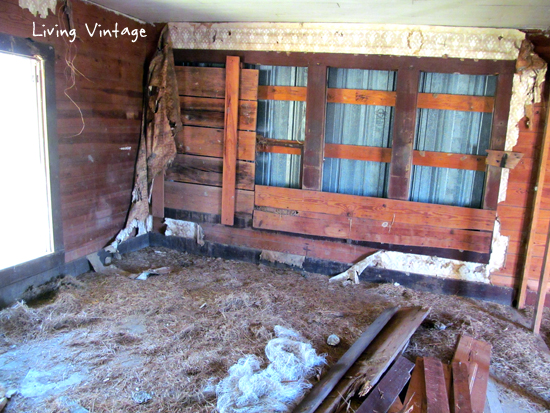
The old place looked a heck of a lot better when the initial cleanup was done and the place was more well lit.
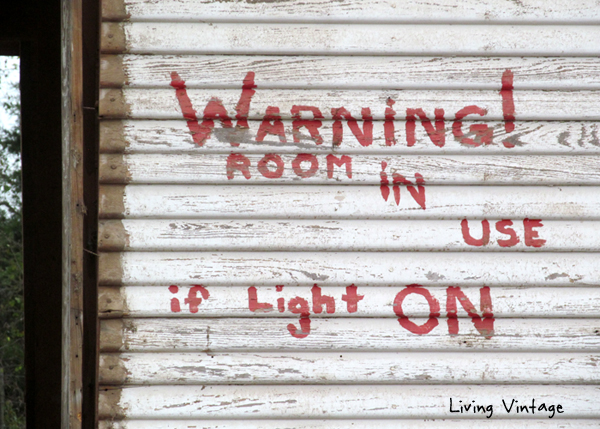
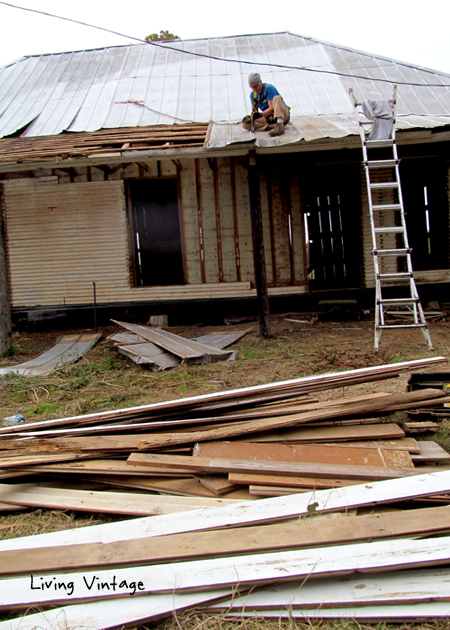
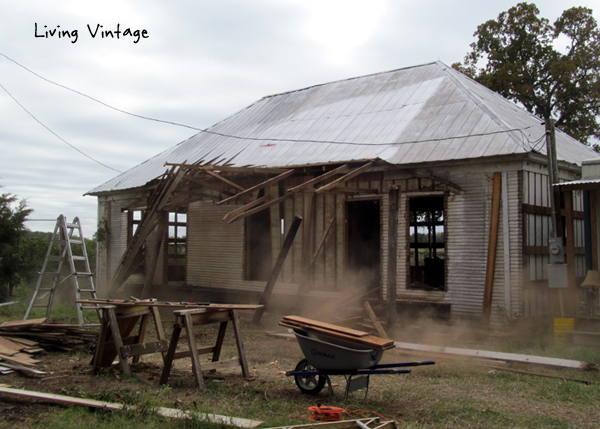
Next the guys concentrated on removing tin from all four sides of the house.
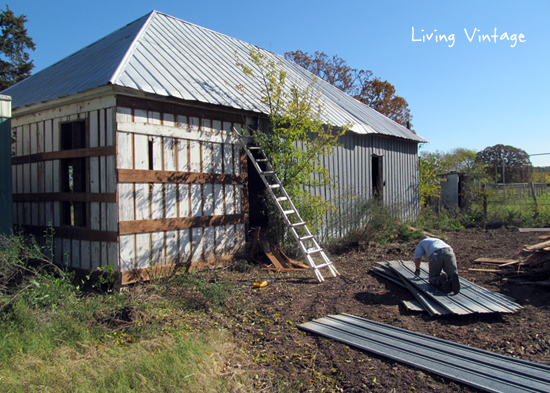
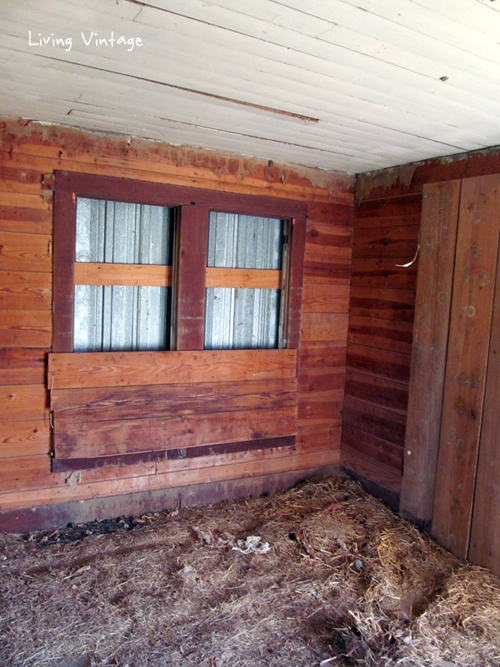
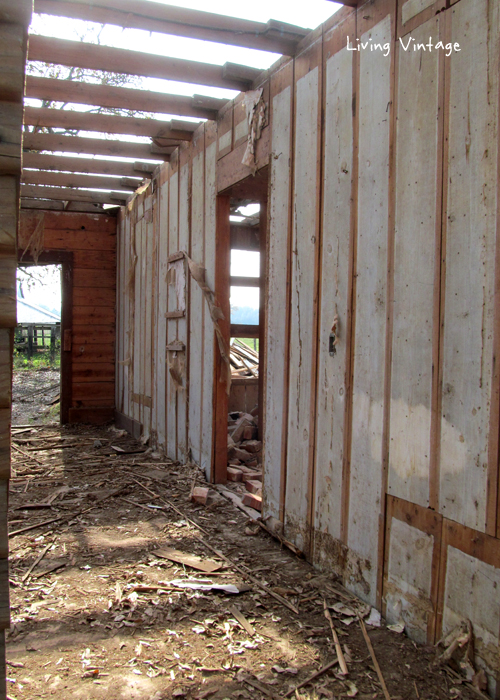
For the first time in no telling how long, beautiful 1 x 12’s were exposed to the light of day.
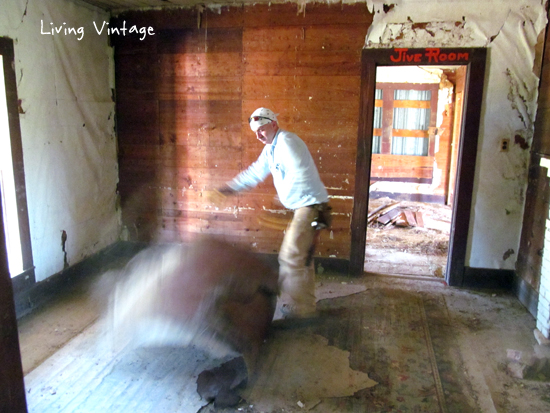
This curious warning sign was also uncovered when the tin was removed.
As I said before, this old house was apparently used as a party spot for high school students, so maybe there was a make-out session going on?
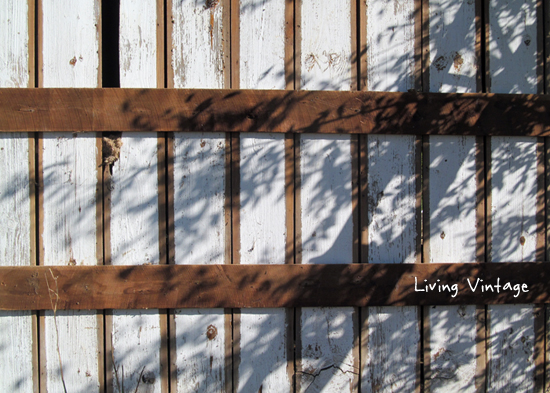
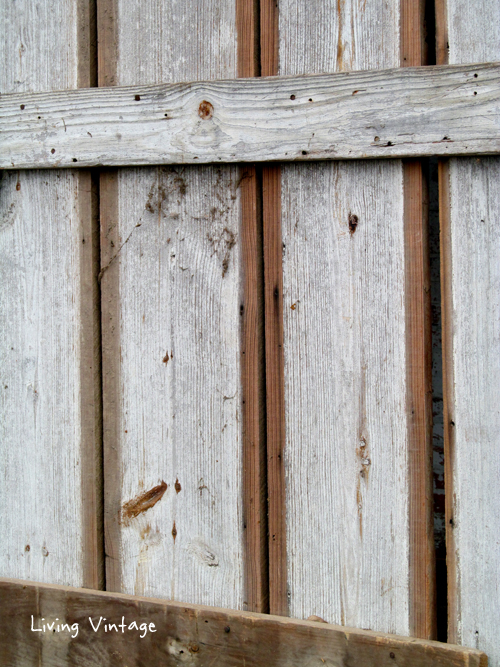
These are the same type of boards that are throughout our home.
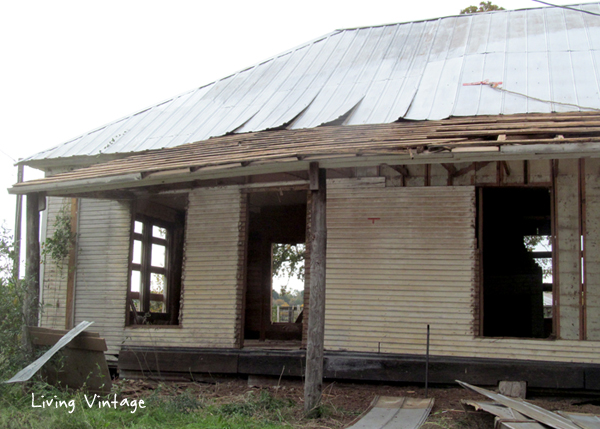
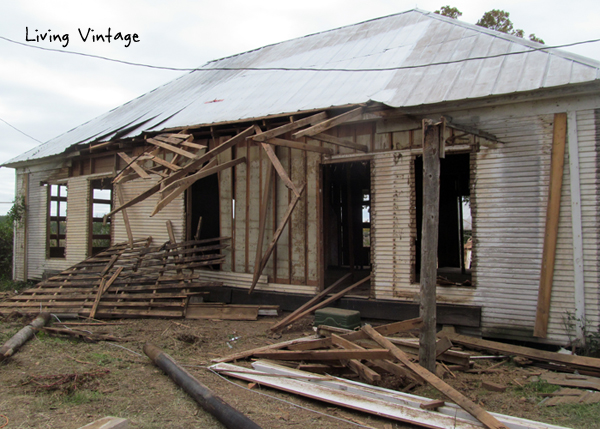
Next, John started stripping the metal from the front porch. It needed to come down first.
That didn’t take long.
After the metal was removed, the guys used a rope and John’s truck to pull the porch down. Just a little tug did the trick.
Going . . .
Going . . .
Gone.
After the porch was down, we sorted through the pile of wood and kept what was good and took the rest to the burn pile.
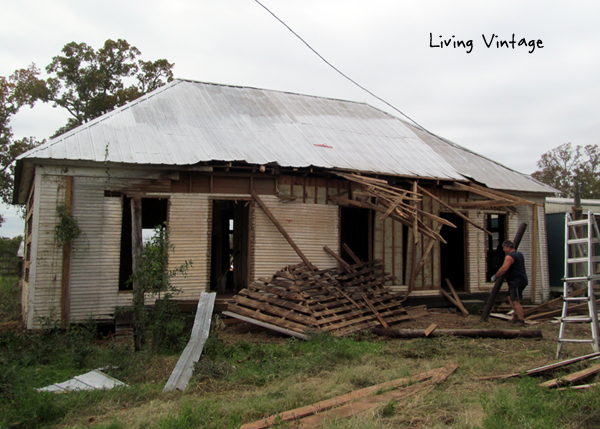
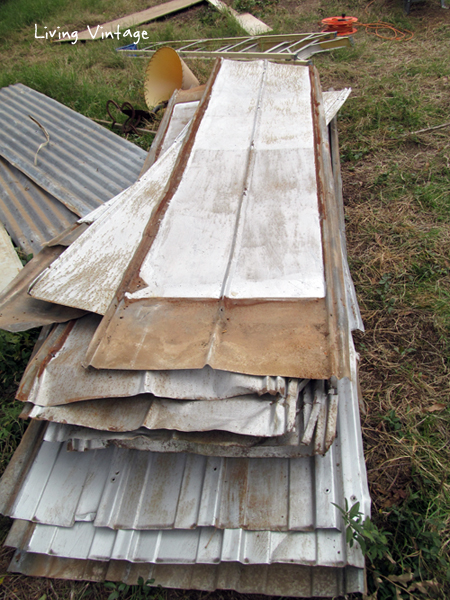
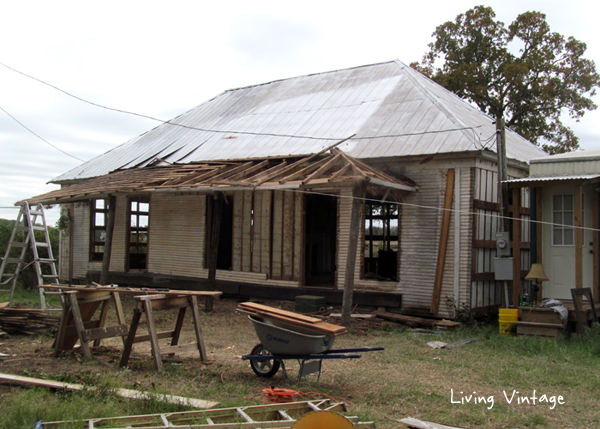
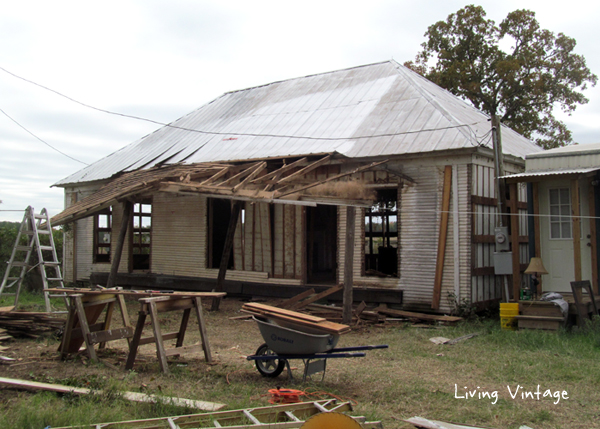
The roof was taken down next. We kept all of the tin, but the roof rafters were in poor shape.
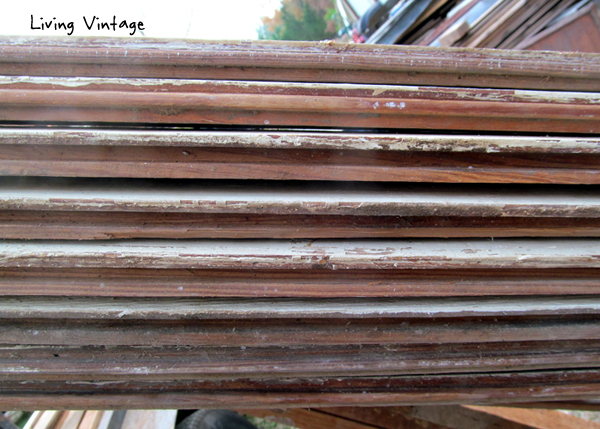
After the roof was gone, the old ceiling boards came down. Many boards were in great shape and therefore, re-useable.
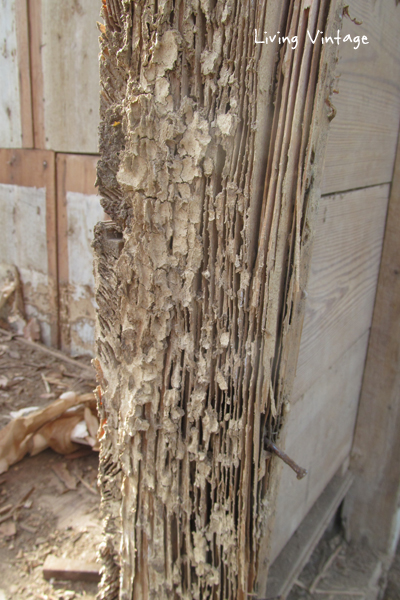
Unfortunately, a lot of it was too eaten up by termites to save.
In fact, we found a whole bunch of termite damage in this house.
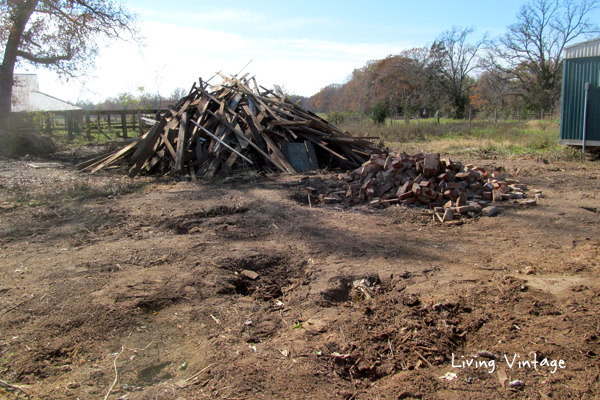
A lot of wood rejection was going on, and we had a sizeable burn pile by day 3.
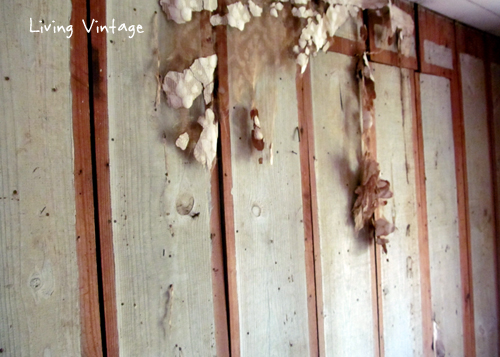
I cannot begin to tell you how nasty, dirty, and filthy it is to remove ceilings out of old houses … so I’ll let a few photos tell the tale.
Fortunately it was worth it as it usually is. We salvaged some beautiful white and blue/gray tongue and groove boards. This photo really does not do justice to their loveliness.
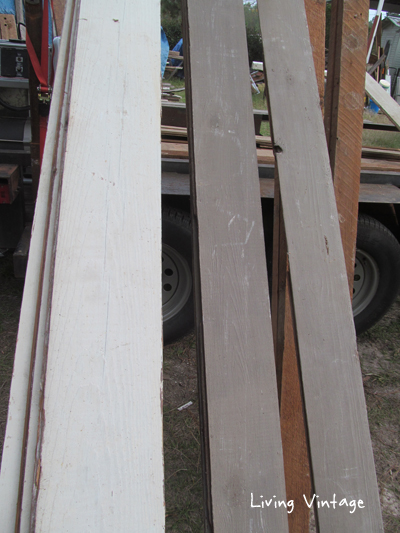
I think they’d be so pretty installed like this idea I pinned some time ago.
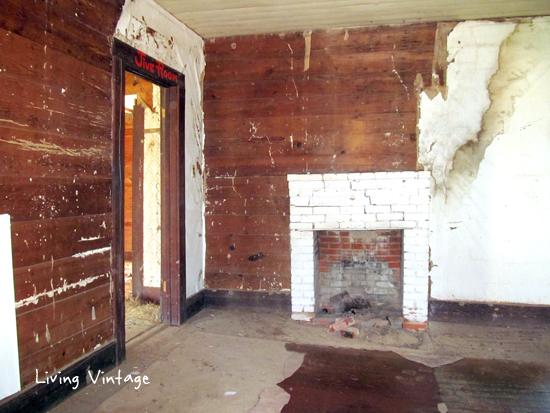
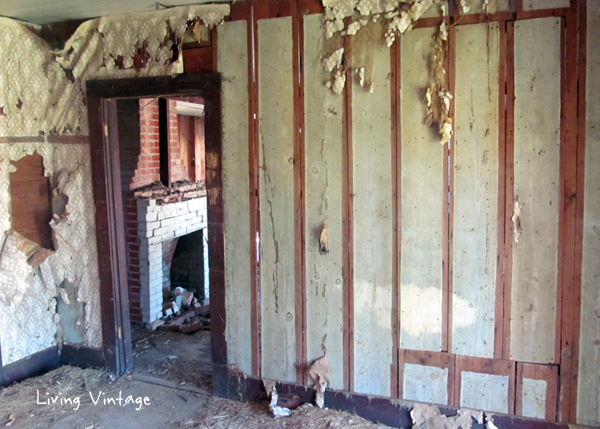
Next to come down was the brick fireplace. It was leaning substantially and looked too precarious to continue working around.
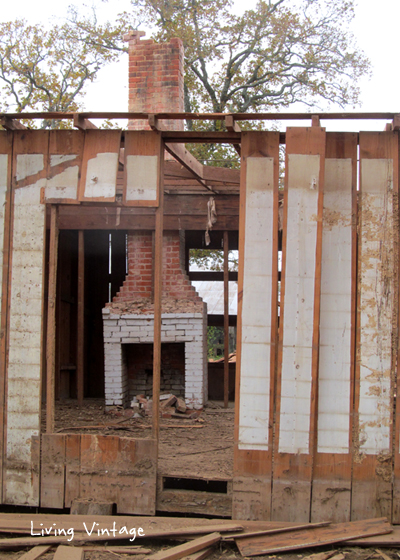
Just one brick would have done some bodily damage.
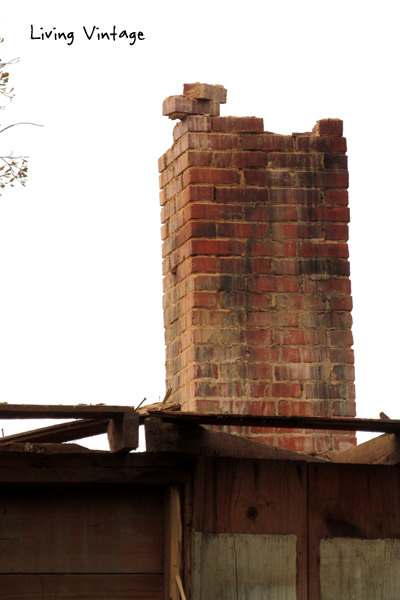
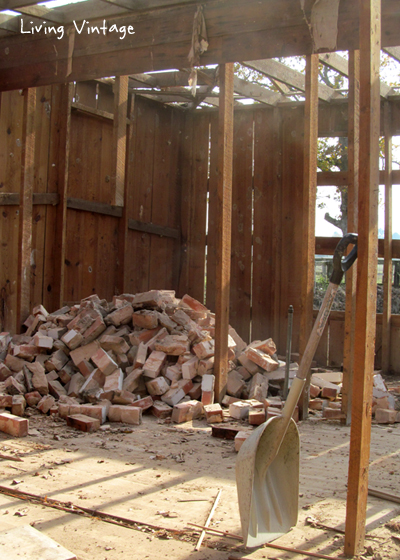
It’s a good thing we did. It crumbled so easily that John got most of it down while Mark and I treated ourselves to a hot lunch.
And, yes, we were only gone for about an hour.
And, yes, I did bring home some of the old brick!
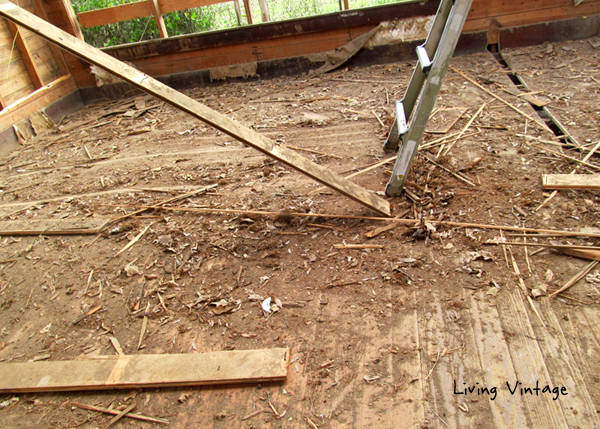
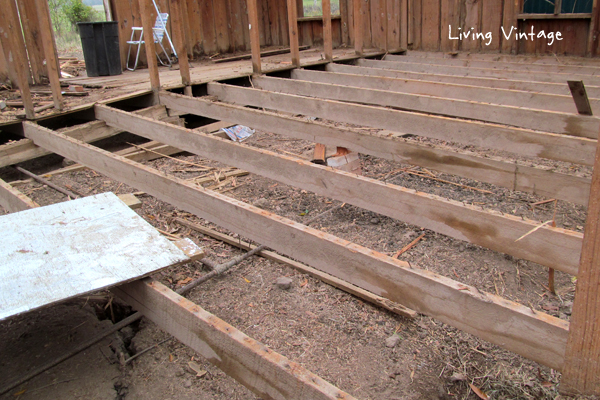
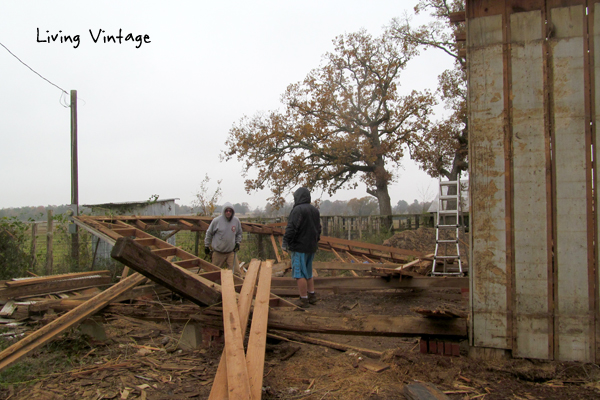
The next work day, we removed the long leaf pine floors. Rain was coming, and we didn’t want them to warp after getting soaked.
Taking them up revealed gorgeous, old floor joists. Most were in perfect shape, which surprised us all, given the amount of termite damage we found elsewhere.
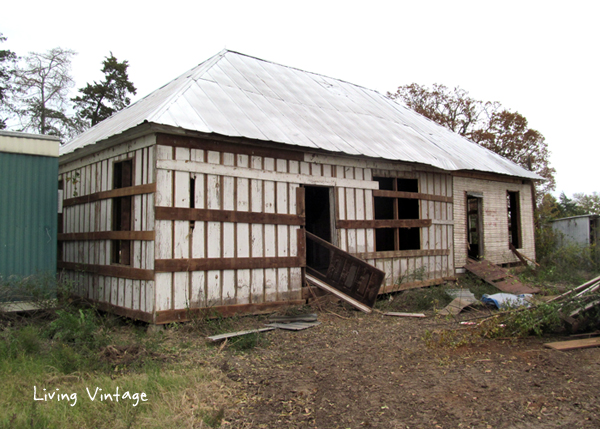
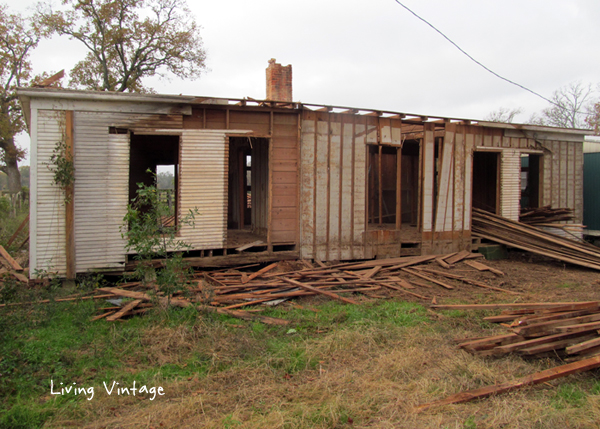
One thing we did determine towards the beginning of the project was one side of the house was an add-on to the original structure.
Mark and John had removed all of the siding from those three walls and they toppled that part of house. That day was miserably damp and cold, and it had just started sprinkling when this photo was shot.
Needless to say, that was a short work day. The old place looked pretty forlorn when we left that day.
The next work day, Mark shot this photo of a nail covered in frost.
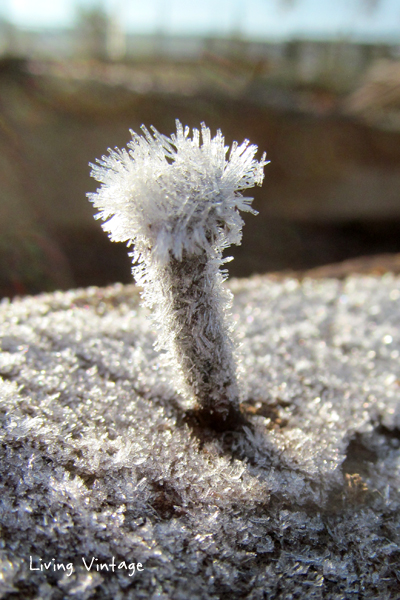
Fortunately, the day after that was sunny, so all it melted pretty quickly.
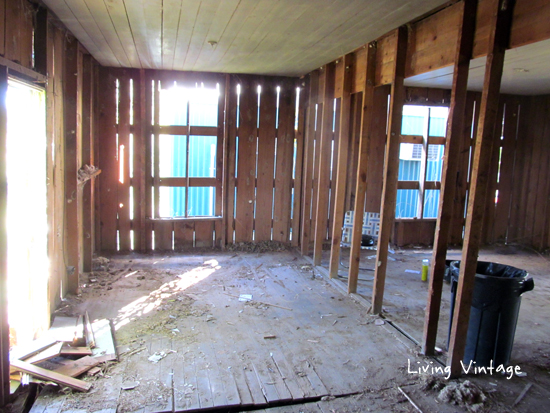
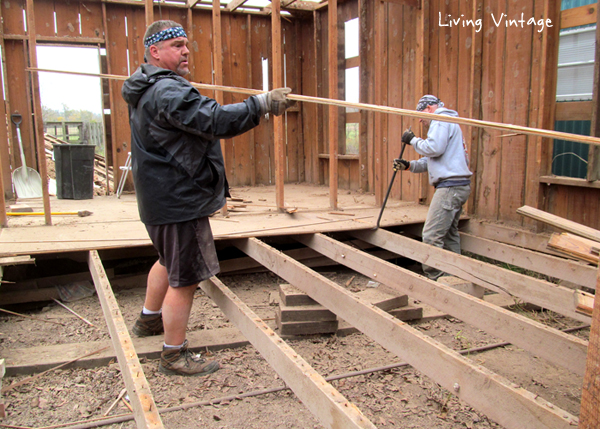
After the wood in the addition was pried apart, assessed, and de-nailed, the guys concentrated on removing the 1 x 12’s, floor joists, and beams in the older part of the house.
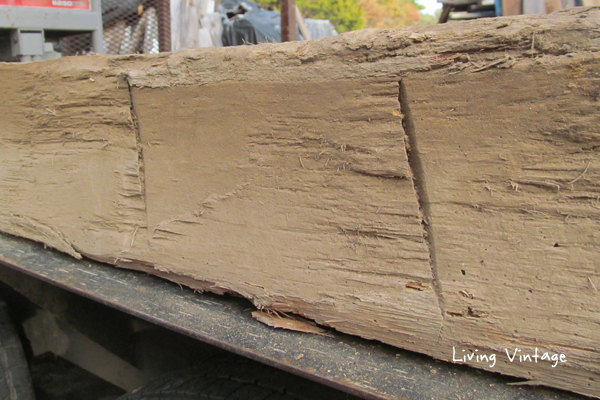
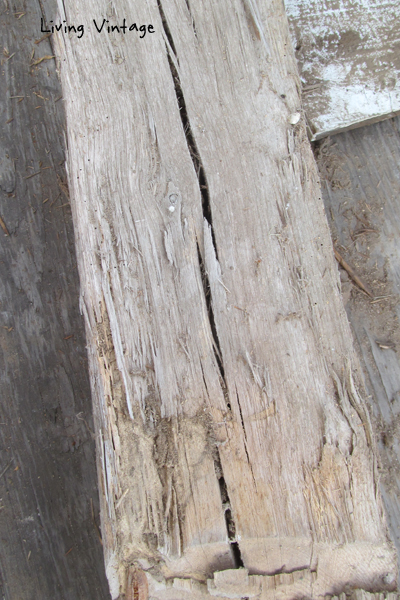
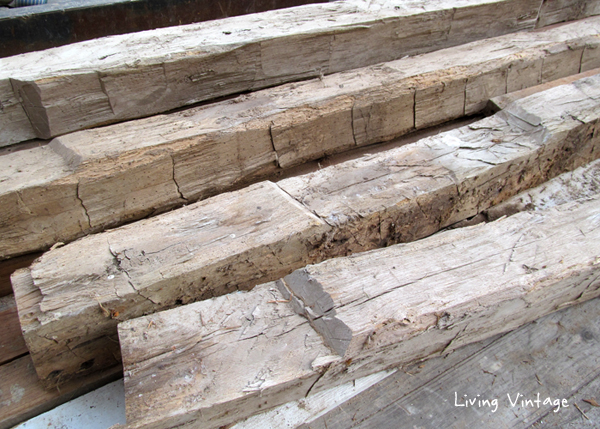
Some of the old beams were hand sawn and we estimate them to be at least 200 years old. They have the most unbelievable, tight grain and weigh a ton. I couldn’t lift even the short ones, and Mark had to roll the longer 15′ ones out of the trailer. They’re that heavy.
I had taken a day off to take care of blogging stuff, and this is what awaited me one morning when Mark and I arrived at the jobsite: two large piles of floor joists and wall studs to de-nail.

I got my workout that day, for sure.
I could see the end of our project in sight so that put a spring in my step.
Mark and John were concentrating on removing the rest of the floor joists and beams and doing cleanup.
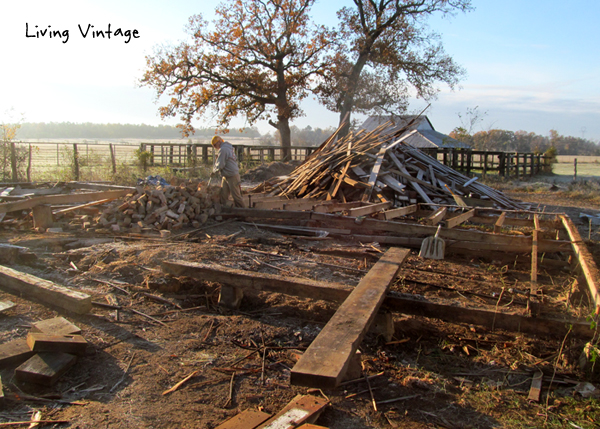
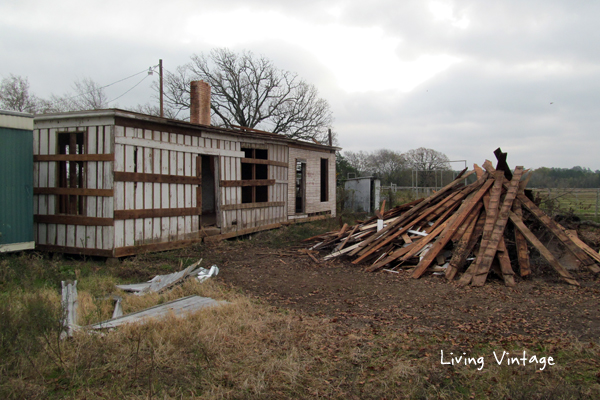
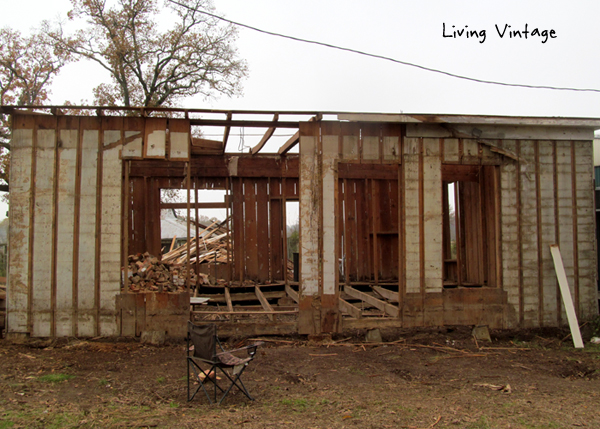
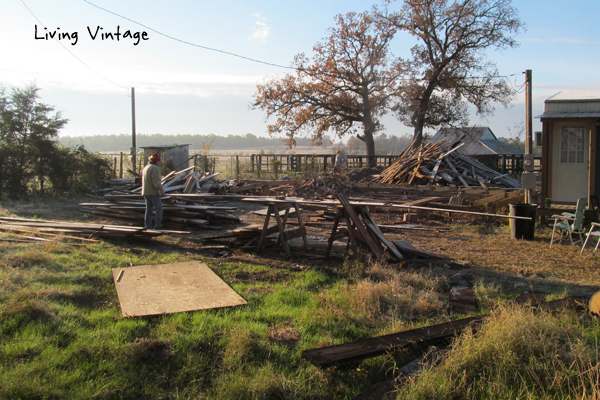
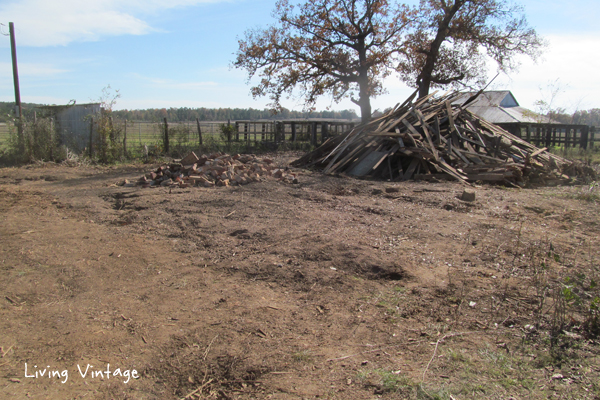
The last day, we finished cleaning up and de-nailed the rest of the wood that was salvageable. This was what the place looked like when we were finally done.
Just a large burn pile and a pile of bricks remained.
All told, it took us just TWELVE days to take down this old place, from start to finish. Not as quickly as we had hoped, but still, not too bad. 
These are my favorite posts! Love the old wood. They are like blank canvases – unbelievable possibilities. Appreciate the hard work that goes into these projects. You and your team rock!
Thanks, Cher! After we get our next two houses done, we’re going to focus on selling the materials … or building. If you have any ideas concerning effective means in your area, please do let me know. 🙂
Wow! Our daughter and I demolished a small coal room in our old basement and that was hard work,
but a whole house?! That’s a lot of sweat equity, but it’s nice to know that you are using those gorgeous beams and wood planks and they aren’t going to the landfill. We don’t have an architectural salvage site nearby, and most of the houses they demolish here end up in the landfill. I inquired about a porch rail and gingerbread trim on a house that was to be torn down and was told that I would be trespassing if I took any. It ended up in the landfill. What a shame!
Honestly, if you had told me years ago we would be doing this work one day, I would have laughed, but it’s funny what the paths your life can take. Concerning the demo in your area, I hate small-minded people!!!! What would it have hurt for you (or anyone) to come take a few things??? Everyone’s so worried about liability these days.
Your work is totally fascinating to me – not only what you do with the salvaged materials, but the entire process of getting there. Just amazing.
Thanks, Rita. It’s sure fun (and convenient) to run out back and grab whatever materials we need. Now we just need to concentrate on selling some.
What beautiful bones! Lots of great raw material. Maybe some will find its way to us some day. Thanks for the pics and process. Always so great to see it in action.
It had better bones and was older than what we first thought. No kitchen, no bathroom, no plumbing of any kind. It may have been ripped out before it became a hay barn. Who knows? The 1 x 12’s dated it to the late 1800’s. They would make gorgeous (really) wide plank floors, for sure.
This whole process of salvaging old buildings is so fascinating to me, and your photos tell the story wonderfully.
Thank you, Laurel! I appreciate you saying that.