My husband and I love great food and we also cook at home almost every night. We’ve been told many times that we should open a restaurant, but neither of us wants to work those hours!
One thing we like to do often is try new recipes.
Here’s what we do: after just one or two bites of a new dish, we decide if it’s a “keeper”. (This means we’ll add it to the list of recipes that we’ll make time and time again.)
We have pretty strict rules for this little game we play. If we don’t say “yum!” after the first bite or two, we don’t try to talk ourselves into liking it. Also, saying “it’s okay” doesn’t suffice. It’s got to be “oh my gosh! this is divine!” … or another strong, positive response eliciting exclamation points.
OK, so here’s where I’m going with this:
Because I love food and feel that sharing wonderful recipes is a form of caring, I’m going to start posting a Gaynor-tested, guaranteed delicious, keeper recipe every so often.
Now, you have to know that I’m not a food stylist, so you’re going to have to bear with me in the photography department. I will try to take decent enough photos (if there isn’t a good online photo available).
Finally, I promise that I have no intentions of turning Living Vintage into a food blog! (Not that there’s a darn thing wrong with that. I follow some food blogs myself, but I don’t want Living Vintage to be all about food. You know?)
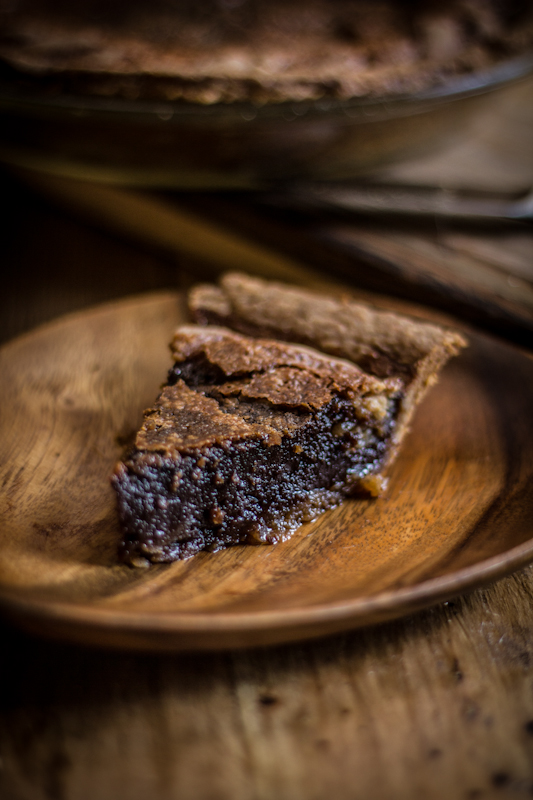
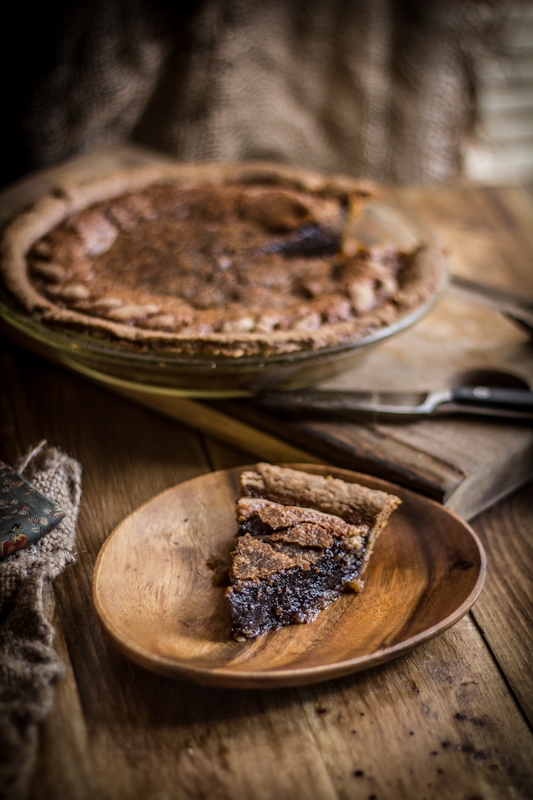
So ta da! Here’s the first recipe: a chocolate chess pie that I almost didn’t try …. (I’ll explain in the recipe) … but I’m truly delighted I did. It’s not only a keeper but it has an incredibly similar flavor to the chocolate pies my Aunt Lilla used to make for family and for sale. (Yes, she was known as the pie lady in the small town where I grew up.)
Trust me. It’s wonderful.
- FOR THE FILLING:
- 2 Eggs, beaten
- (1) 5 Ounce Can of Evaporated Milk
- 1 Cup White Sugar
- 1/4 Cup Brown Sugar
- 1/4 Cup Cocoa Powder
- 1/4 Cup Butter, melted
- 1 Teaspoon Vanilla Extract
- 2 Tablespoons Corn Meal — (This is the ingredient I thought was SO strange. Trust me and just add it to the filling. The pie will NOT taste grainy, I promise.)
- FOR THE CRUST (optional):
- 2 Cups Flour
- 1 Cup Butter, very cold
- 6-8 Tablespoons of Ice Water
- 2 Teaspoons Sugar
- 1/2 Teaspoon Salt
- Preheat the oven to 350 degrees.
- Then begin making the crust IF you want to make a homemade pie crust. I just used a deep dish pie crust I bought from the grocery store. If you do the latter, be sure to thaw out the pie crust as the package directs. Also, don’t pre-bake the pie crust even if the package says to do that.
- If you do choose to make the homemade pie crust, mix all of the dry ingredients together in a large bowl. Cut the butter into pea-sized pieces over the bowl, or pulse together using a food processor. Add the ice water, a tablespoon at a time, mixing with a wooden spoon rather than your hand to help keep the dough cool, until fairly well mixed (it’s okay if there’s still some small blobs of butter). Grab a handful of the dry crumbly dough mixture and squeeze. If it holds together you don’t need to add anymore water. Roll the dough out until it is about 1 centimeter thick, then place it over a well-greased and lightly floured 8-inch pie dish (mine measures about 2 inches deep). Trim the edges and use the remaining dough to create a decorative border by cutting out shapes, (or just place the remaining dough in a freezer-safe plastic bag and freeze for when you want to make another pie). Place the crust in the refrigerator.
- To make the filling, mix together the white sugar, brown sugar, cornmeal, and cocoa powder. Add the eggs and mix until fully incorporated. Then mix in the evaporated milk, butter, and vanilla extract until completely combined.
- Pour the filling into the prepared pie crust and bake for 40-50 minutes or until the crust is golden brown and the filling is set. (If the crust is browning too quickly, cover the edges with tin foil but don’t let the tin foil touch the filling). Remove from the oven and allow to cool for 20 minutes before slicing and serving.
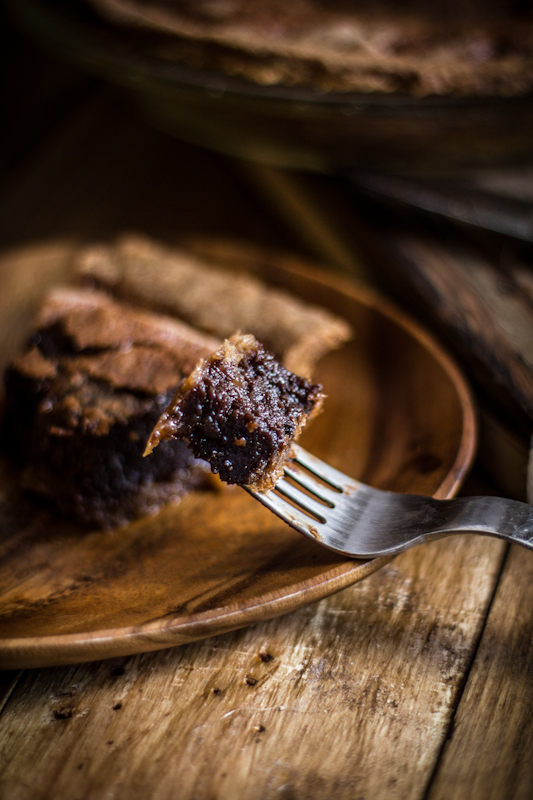
I hope you try this silky smooth, decadent dessert. If you do, please let me (and Eva) know what you think! And speaking of Eva, this recipe and photos are provided at Eva’s blog, Adventures in Cooking. You see? I do follow food blogs.

Looks YUMMY…I’ve pinned so I can try it!
Blessings,
Cindy
This looks so good! Thanks for sharing the recipe!
I’m not that much of a internet reader to be honest
but your blogs really nice, keep it up! I’ll go ahead and bookmark your website to
come back down the road. Cheers
I needed to thank you for this excellent read!! I definitely enjoyed every bit of it. I have you bookmarked to check out new things you post
I just had a panic attack! I made this divine pie last February. I am hosting mothers day this weekend and wanted to make it again…so good! But I couldn’t find this site 🙁
Booked marked now…and happy!
Delighted to hear it!