It’s that time again. Time to share some salvage project photos with you.
A lot has happened since I updated you last time.
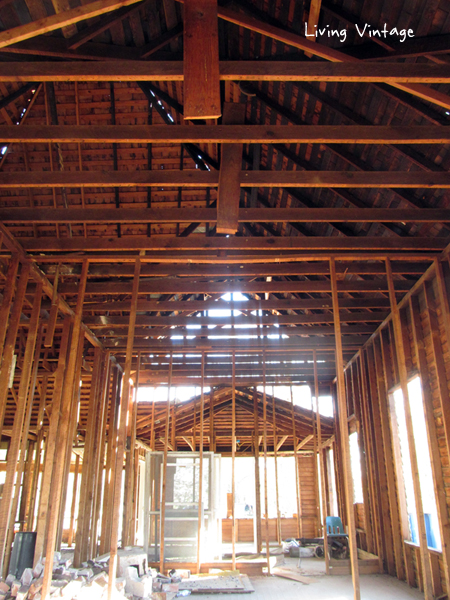
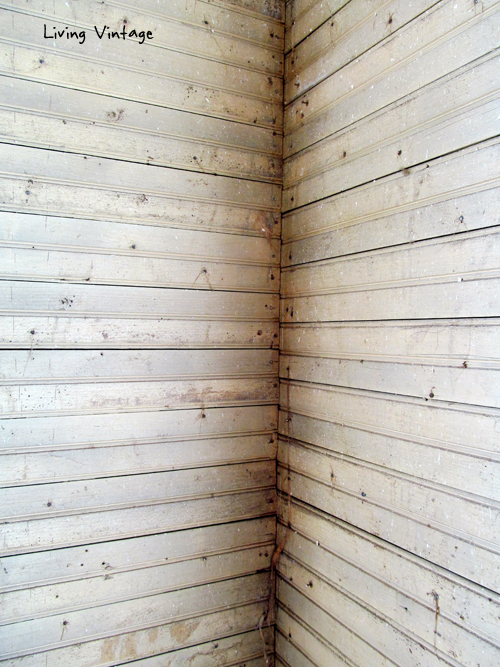
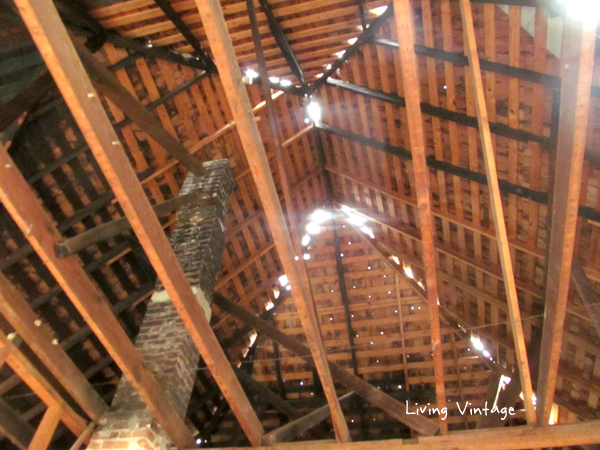
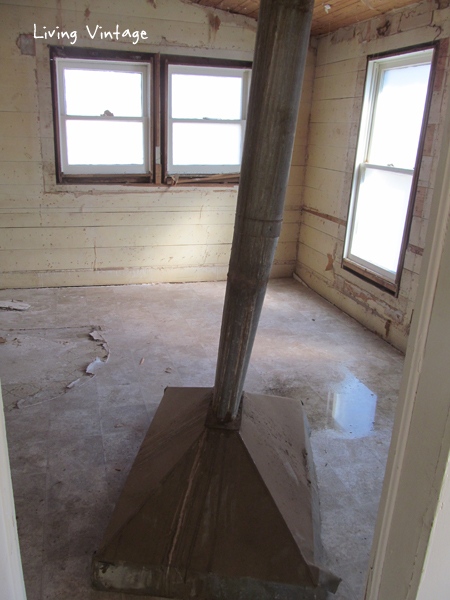
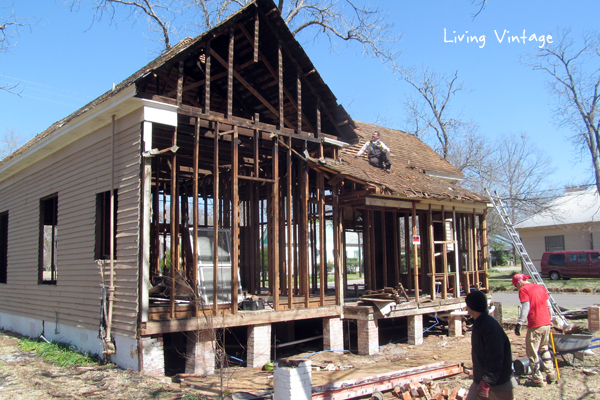
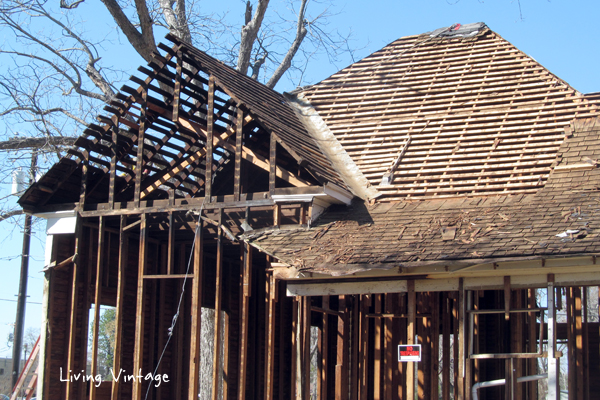
We removed all of the shiplap and beadboard from the walls and ceilings . . .
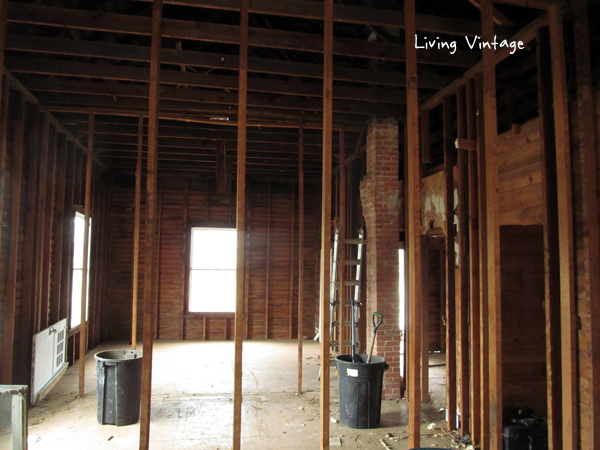
. . . exposing all the framing underneath.
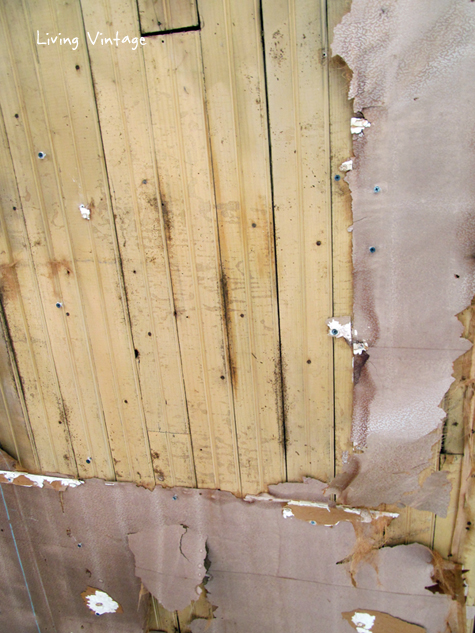
The beadboard is a light, pretty yellow-y green color.
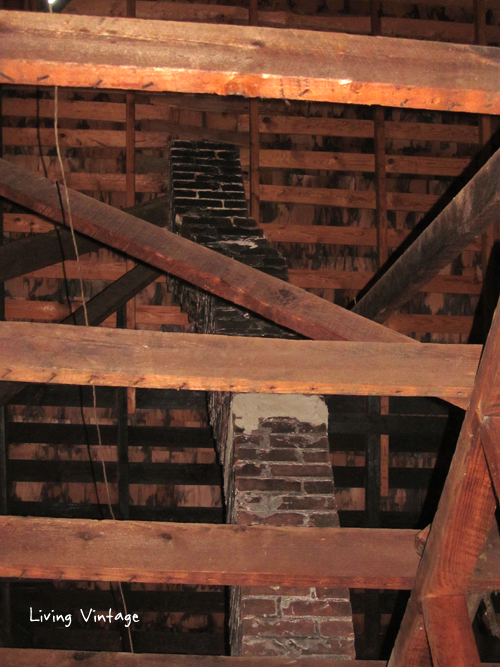
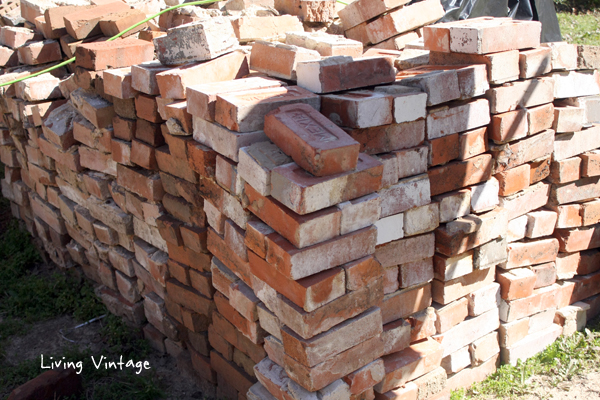
Next to come down (at least partially down) was the very crooked chimney. It was extremely dangerous, and previous owners had propped it up using 2×4’s. We pulled it down, and it was shocking how little effort it took to topple it. We salvaged the old brick that didn’t shatter.
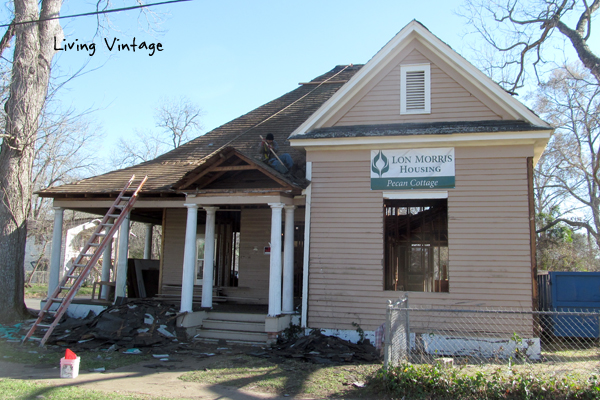
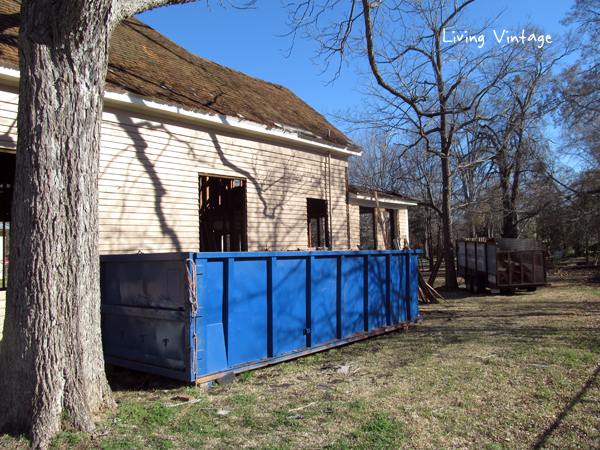
While all the interior work was being done, another person on our hired crew was still removing asphalt and shake shingles. It takes forever when there’s multiple layers of roof!
The dumpster we rented came in very handy for all the shingles and brick debris. In the past, we have used our trash trailer for any and all trash, but it’s a pain (and a workout) to dump it. We do load all wood debris in our trash trailer and take it home to burn.
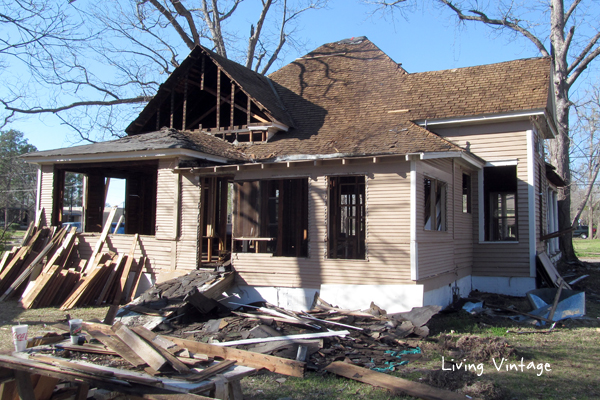
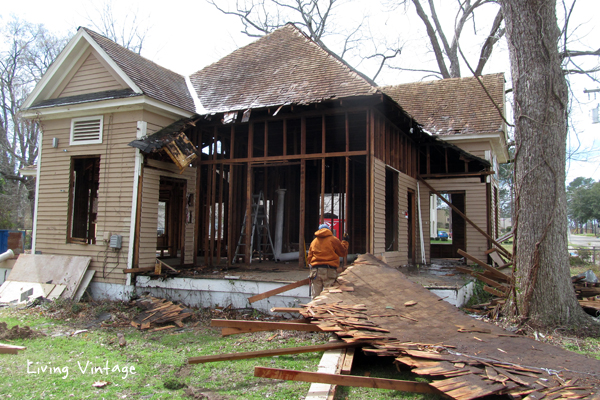
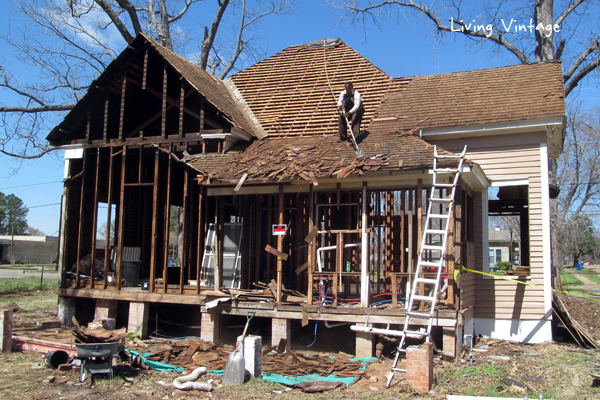
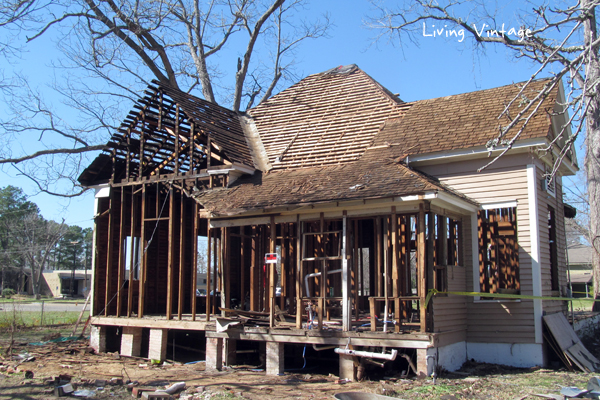
After the weight of the asphalt shingles were removed, we removed sawed the roof in big chunks and removed the front porch.
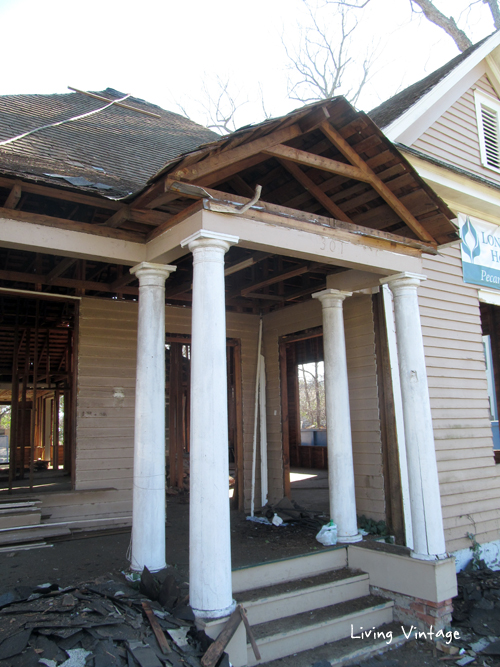
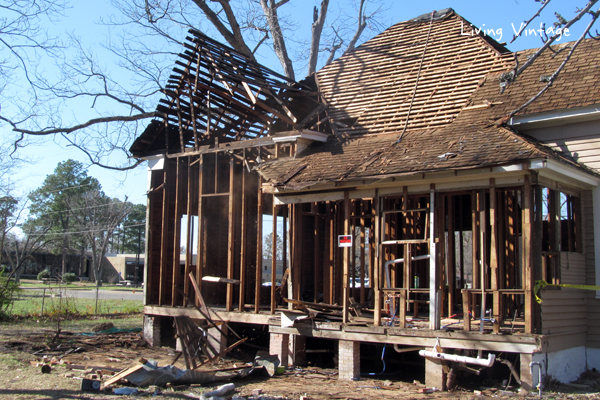
Here’s what the house looked like after the porch was removed.

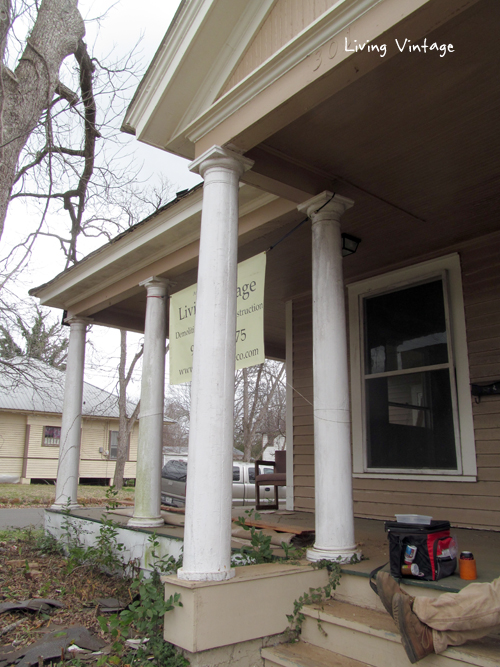
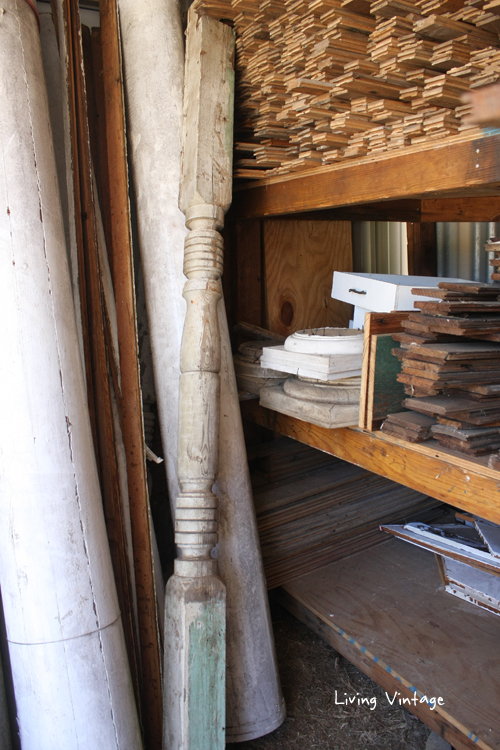
Yes, we did salvage the lovely porch posts.
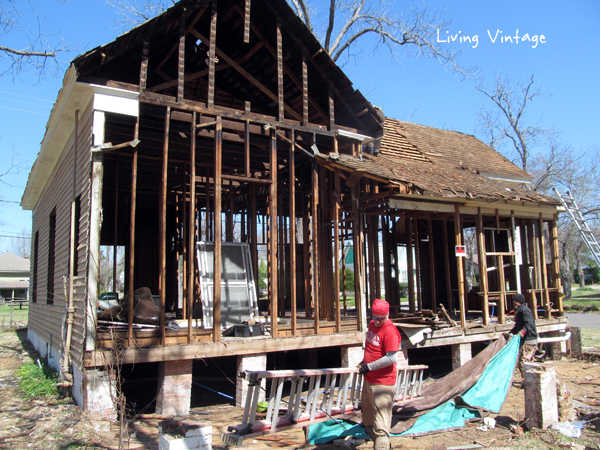
We also removed the roof and walls from three rooms in the back of the house in a similar fashion.
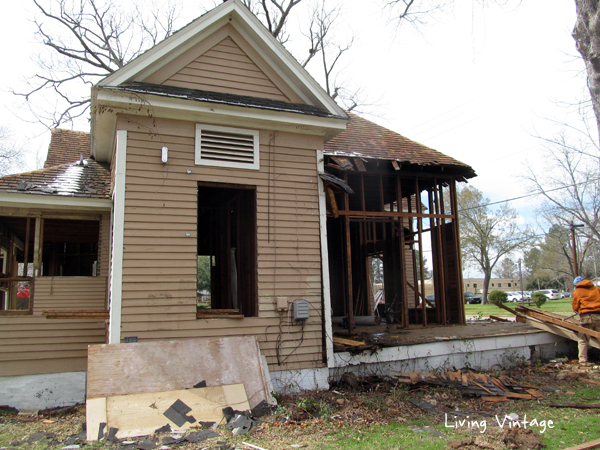
The first small room to go was this one.
When we dismantled this room, we made a very unusual discovery: a turned porch post was embedded in the wall and used as a wall stud.
Big chunks of roof came off and rooms were dismantled quickly.
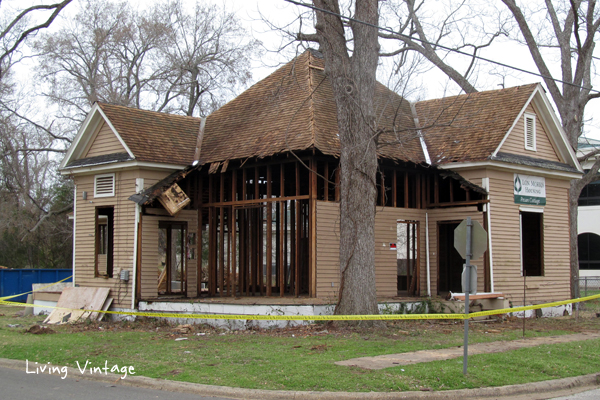
While all this was going on, Mark took a break and put up caution tape around the house in the hopes that it will deter people from trying to enter the house. (We always put up “No Trespassing” signs at the beginning of a project.)
The last section to go was the room that had the yellow-y green beadboard. After those rooms were gone, we removed the flooring, floor joists, and beams.
The only evidence of a house in that area were the old brick foundation supports.
We gently tapped the old brick, and they fell apart easily. We brought all that old brick home, and I have two more types of old brick to add to my brick collection that I mentioned I wanted to start.
We’ll also have plenty of brick for a patio we’re wanting to install in our backyard.
At the end of last week, we pulled down the gable end at the back of the house.
I’ll also be listing some of the better brick on Etsy soon for those of you who want to start your own brick collections.
So, that’s where we left off last week.
We estimate that we two more weeks to go, and this old house will be just a memory.

Once again, amazing to see the structural process in reverse. That chimney!
WOW she had good bones, glad you have the foresight and wherewithal to see they did not become ashes but rather bring new life to them. Great post as usual!
She sure did, and honestly, this house didn’t need to be torn down. A bank bought the house and sold an empty lot, so the house had to go. We offered to buy it, but they had already sold the lot. Sad.
She sure did. We’re finding some burn damage now, down into the ‘bones’ of the house, but all in all, we salvaged quite a bit. Glad we were hired to do this job.
It’s nice to see a house carefully dismantled in this way instead of just being knocked down and trashed. Lots of work but well worth it!
Yes, very much so. We go to bed each night with sore muscles and a good sense of accomplishment.
I am fascinated by your posts on dismantling. Thanks for all the accompanying photos. I look forward to the next “chapter”.
Thanks so much, Mary!
Glad you reuse/sell as much as possible from these old places. Most old houses are either knocked down without getting anything out of it, or only the cosmetic parts are taken. I’ve never understood why not take out as much of everything as possible to reuse, seems like a waste down to the tiniest board.
I totally understand and agree, Kelly!
So cool to get to see your progress! I love old houses!
Great to see the progress 🙂 Some great pictures here
Thanks, Adam!
Kim,
I can’t find your Etsy shop. What is it called?
Thanks,
Debi
Debi, my Etsy shop is not yet open. I’m working on that though!